

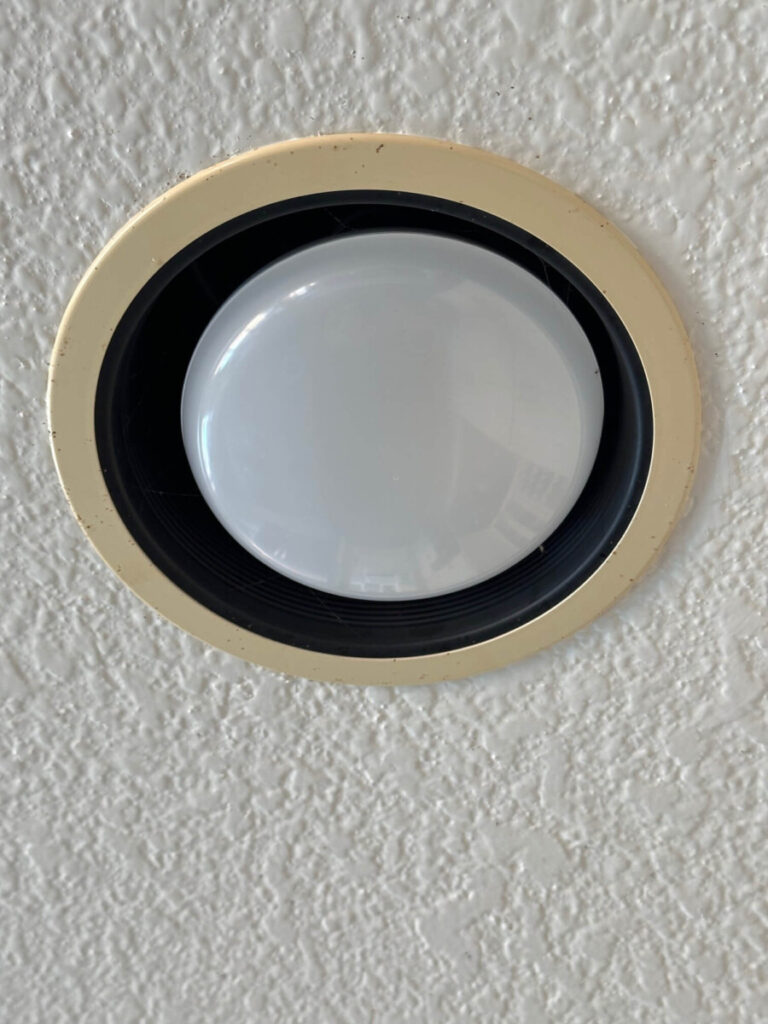
Are the recessed lights in your house looking a little dated? Over time, the trim on these lights can yellow and become brittle, making the entire fixture look old and tired. The good news is that a recessed light trim replacement is a simple and inexpensive DIY project that can instantly refresh any room. You don’t need to be an expert to tackle this job. With a few simple tools and a little guidance, you can swap out that old, yellowing trim for a crisp, new one and make a big difference in the look of your space.
Before You Begin
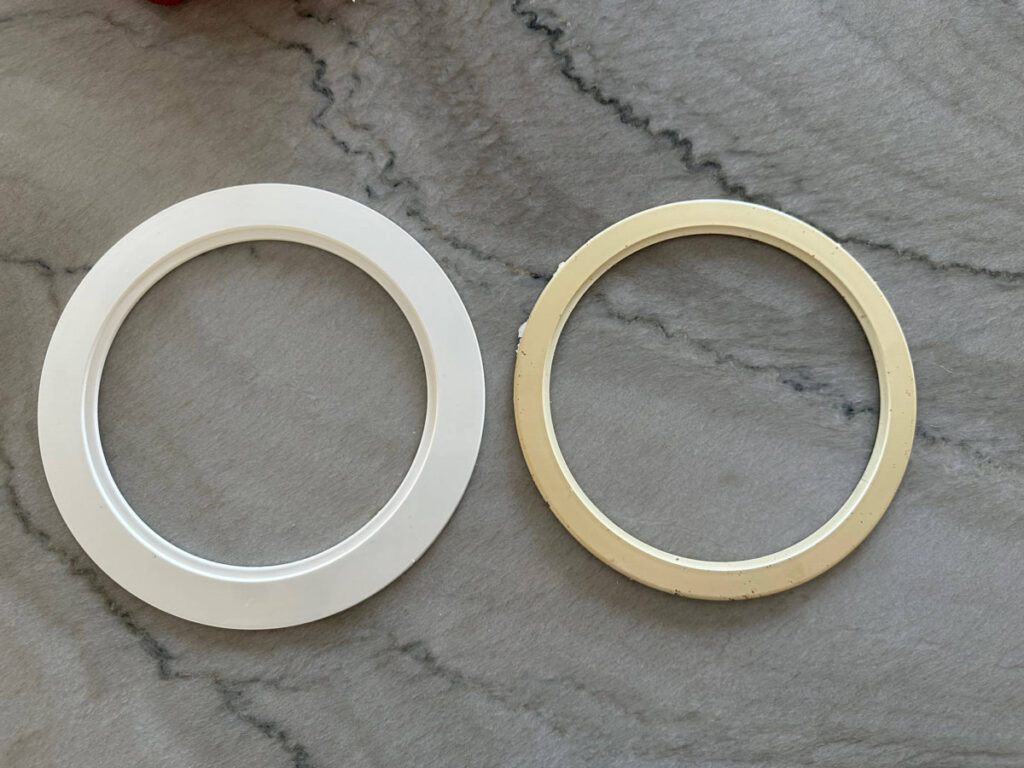
Before you get started, you’ll need to gather a few supplies. The most important thing is to measure the inside of your can light to ensure you buy the correct size of new trim. It’s also a good idea to purchase a new trim that is a little wider than your existing one. This will help cover up any imperfections in the ceiling paint that are left behind when you remove the old trim, as it has a tendency to stick.
Here is a list of everything you’ll need:
- New Recessed Light Trim: Make sure to measure the diameter of your old trim and the inside of your can light so you get the right fit.
- Ladder or Step Stool: To safely reach the ceiling.
- Small Needle-Nose Pliers: These can be helpful for releasing stubborn springs.
- Razor Blade: To gently score the paint around the old trim.
- Flashlight or Headlamp: To help you see inside the can light.
- New Light Bulbs (Optional): This is a great time to install new, energy-efficient LED bulbs.

The Step-by-Step Guide to Replacing Your Recessed Light Trim
Now that you have your supplies, you’re ready to get started. Follow these steps carefully to ensure a smooth and safe installation.
1. Safety First: Turn Off the Power
Before you touch anything, always turn off the power. While flipping the light switch is a good start, the safest method is to turn off the power to that specific circuit at your home’s main breaker box.
2. Access the Can
Once the power is off, you can safely remove the light bulb. You may need to use a step stool or ladder to reach the fixture.
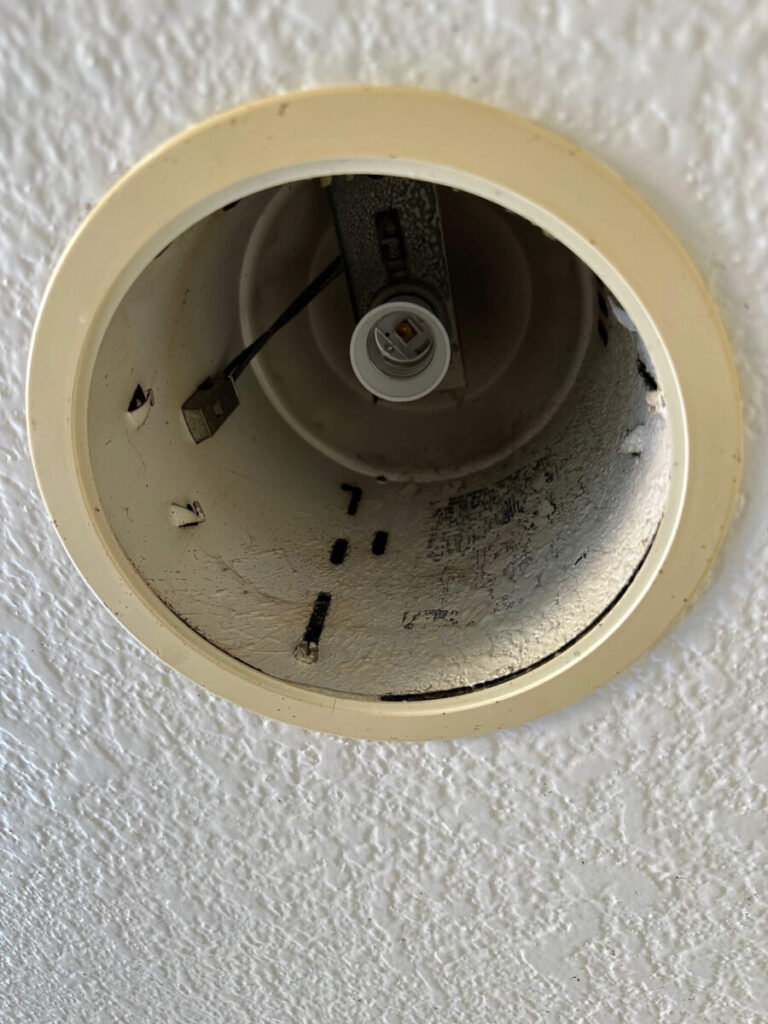
3. The Great Escape: Removing the Old Trim
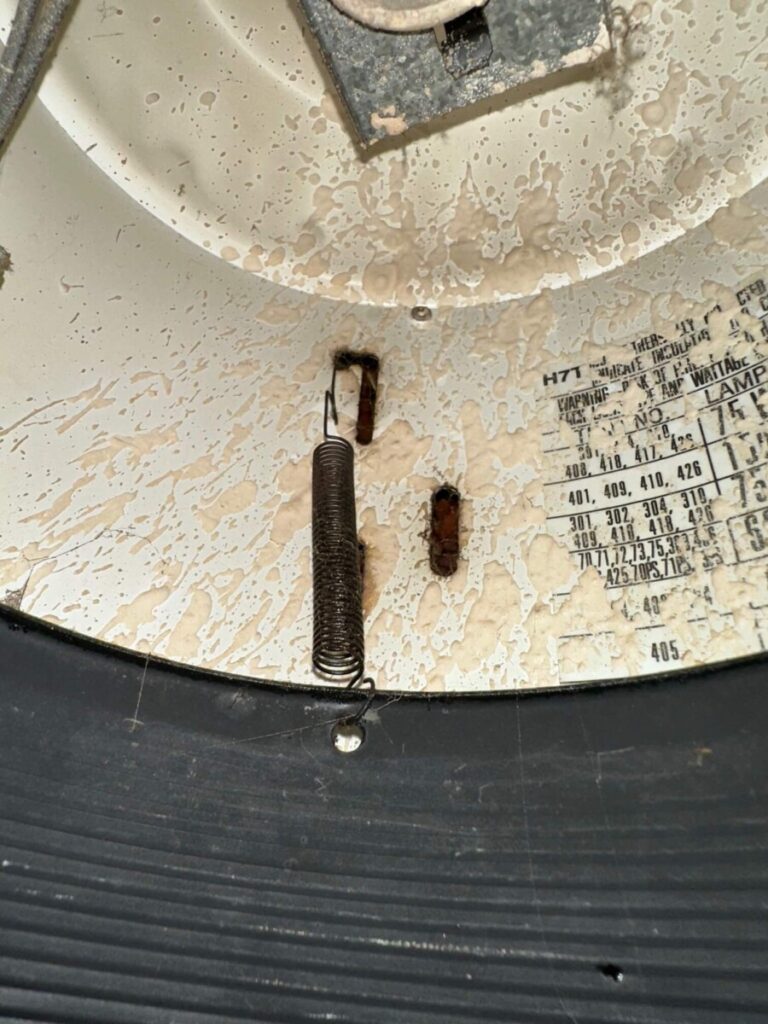
Take a moment to inspect how the old trim is held in place. Most recessed lights use two tension springs with hooks that connect to the inside of the can fixture. Use your fingers or the needle-nose pliers to carefully unhook the springs from the can. Once the springs are detached, the trim and the inner liner will come right out.
4. A Clean Slate
Over time, the old trim may have stuck to the ceiling paint. Use your razor blade to gently scrape off any residual paint or debris to create a clean surface for your new trim.
5. New Trim, New Look
With the old trim removed, you can now attach the new trim to the liner. Simply slide the new trim over the liner until it’s snug.

6. Back in the Can: Reconnecting the Springs
Now, take the new trim with the liner attached and reconnect the spring hooks to the can fixture. This can be a bit tricky, but with a little patience, you’ll get them to hook back in. The tension of the springs will hold the new trim securely against the ceiling.
7. Final Touches
Finally, screw in the light bulb and restore the power at the breaker. Flip the switch and enjoy your bright, updated lighting!
Pro-Tips for a Perfect Recessed Light Trim Replacement
- Measure Twice, Buy Once: Before you head to the store, use a tape measure to get two key dimensions: the diameter of your old trim and the diameter of the can light housing itself. This will ensure you buy a new trim that fits perfectly.
- Wider is Wiser: When choosing new trim, opt for one that is slightly wider than your old trim. This provides a larger surface area to cover any paint that may chip or tear away from the ceiling when you remove the old trim, leaving you with a clean, professional finish.
- Go with LED: This is a great time to upgrade your lighting. Replace your old incandescent bulbs with new, energy-efficient LED bulbs. They use significantly less power and will save you money on your electricity bill over time.
Conclusion
See? That wasn’t so bad! Replacing your recessed light trim is a straightforward project that delivers a lot of bang for your buck. In just a few minutes, you can get rid of that old, yellowing trim and enjoy a fresh, modern look in your kitchen. It’s amazing what a small change can do to brighten up your entire space.


Leave a Reply