One of the biggest hurdles when adding solar to an RV is finding a secure, yet flexible, RV solar panel mount solution. Many solar panel kits come with brackets that screw directly into the roof, which, while seemingly straightforward, creates a permanent fixture that’s a real pain to remove or modify. As someone who likes the option to upgrade or troubleshoot without a major roof overhaul, I knew I needed a better way. That’s where aluminum strut channel came in, offering a robust and adaptable system that I’m thrilled with.
My goal was simple: create a mounting foundation that could handle various panel sizes and allow for easy removal or replacement without drilling new holes in the roof. The strut channel system accomplishes this beautifully.
The Brainstorming & The Build
Parts I Used:
- Strut Channel, Slotted: Aluminum, Plain 14 gauge, 10 ft overall (4 pieces)
- Spring Nuts: 1/4″-20 Thread Size, 1/4 in Bolt Size, Steel, Galvanized Stainless Steel Spring Nuts for Unistrut Channel (25 pack)
- Sheet Metal Screws: #10 x 1-1/4 in
- Fender Washers: 1/4 in x 1-1/4 in
- Dicor 501LSW-1 Self-Leveling Lap Sealant: 4 Pack
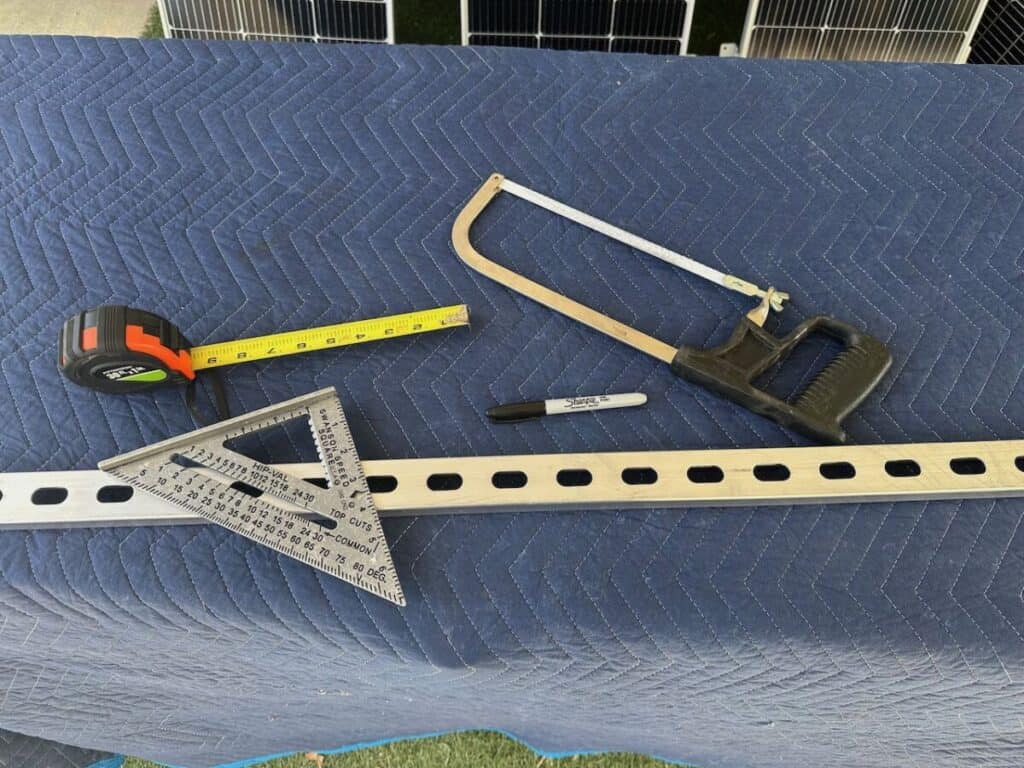
Tools That Came in Handy:
- Hacksaw
- Drill and small drill bits
- Marker
- Work table
- Speed square
- Angle grinder (great for deburring cuts!)
- Tape measure
- Impact gun
- Caulk gun
- Screwdriver
Laying Out the Plan:
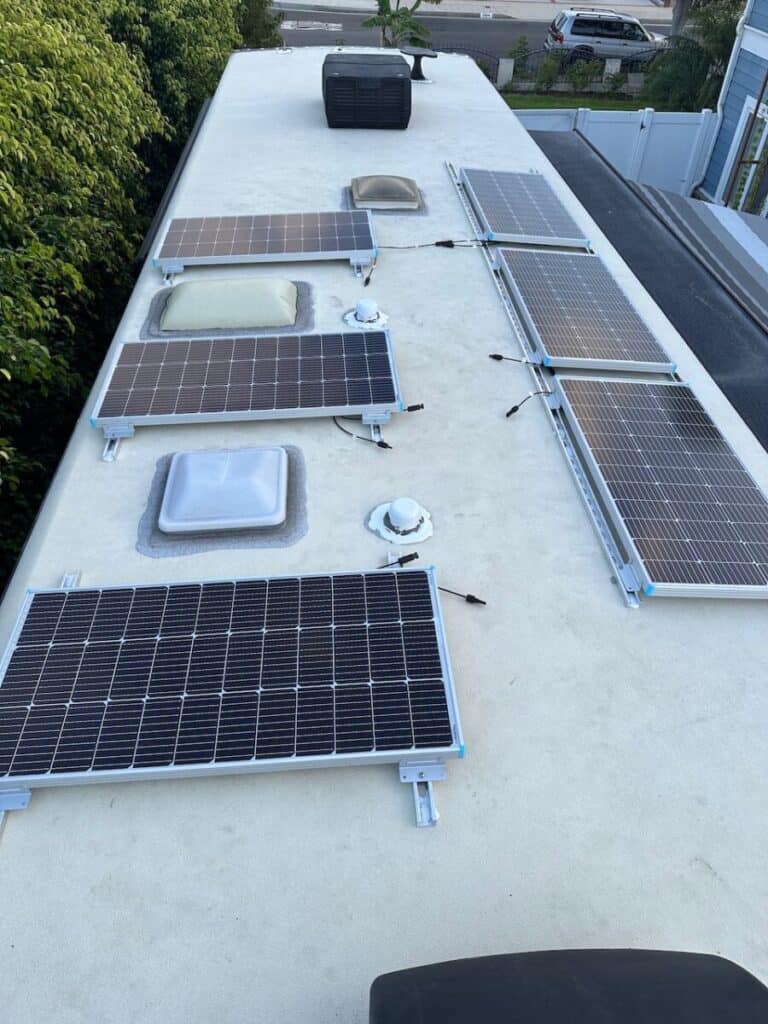
My RV roof, like many, is a maze of vents, an AC unit, and skylights. This meant a perfectly symmetrical, side-by-side array of solar panels wasn’t an option. After careful consideration and a lot of measuring, I settled on using four 10-foot sections of strut channel.
I decided to install three panels vertically in a row on one side of the roof where space allowed (right side of photo below). On the other side, due to obstructions, I opted to mount panels individually in a horizontal orientation (left side of photo below). This flexibility is another huge benefit of the strut channel – it adapts to your available space.
Cutting and Customizing:
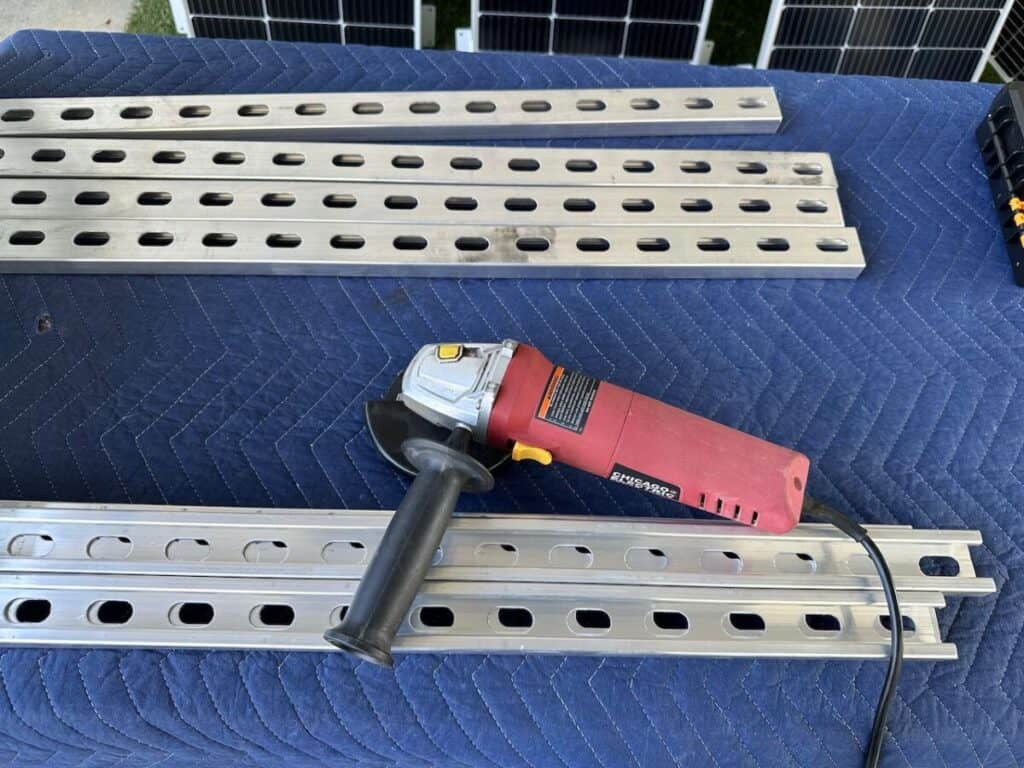
While two of the 10-foot sections could be used at their full length, the other two needed some modification. I cut these into 30-inch sections, yielding eight shorter pieces in total. These shorter pieces were crucial: two for each of the individually mounted panels, and the remaining two were added to the ends of the full-length sections to provide extra support for the three-panel array. The hacksaw made quick work of the cuts, and a quick deburr with the angle grinder ensured no sharp edges.
Precise Placement is Key: Targeting Structural Support
With the strut channels cut and ready, I carefully laid them out on the RV roof. This step is critical – take your time and double-check all your measurements! I made sure the distance between each pair of parallel channels perfectly matched the mounting bracket spacing on my solar panels, which ensures a snug and secure fit once the panels are installed.
Beyond just the panel spacing, I also wanted to maximize the security of the mounting. To do this, I waited until early morning when dew covered the roof, making the underlying support beams visible through the fiberglass. This allowed me to map out the RV’s structural framework. I then used tape to mark these locations on the roof, ensuring I could place as many screws as possible directly into these stronger support points for a far more robust attachment.
Securing the Strut Channel to the Roof:
Attaching the strut channel to the fiberglass roof was the final, and most crucial, step. My initial thought was to use butyl tape under the channels, but it proved to be too messy and difficult to work with for this application. Instead, I opted for a tried-and-true method for RV roof sealing: Dicor self-leveling lap sealant.
Here’s the process I followed:
- Drill Pilot Holes: Using a small drill bit, I drilled a pilot hole through one of the holes in the strut channel and into the fiberglass roof.
- Seal and Secure: For each hole, I applied a generous dab of Dicor lap sealant directly over the pilot hole. Then, I placed a 1/4-inch fender washer over the sealant and secured the strut channel with a #1/4-inch-20 x 3/4-inch stainless steel sheet metal screw. I spaced these screws approximately every 12 to 16 inches along the length of the channels. I wanted enough screws to properly secure everything but also wanted to try and limit the number of holes drilled into the roof.
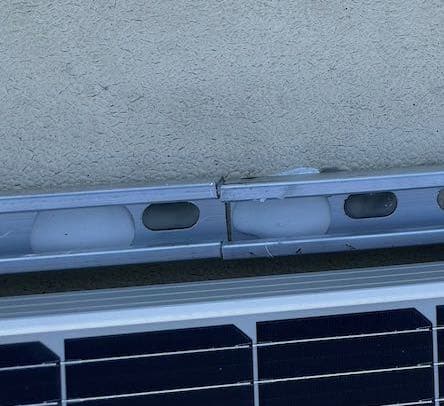
- Final Sealing: Once all the screws were in place and the strut channels were firmly attached, I went back and applied another liberal dollop of Dicor lap sealant over the head of each screw, ensuring a completely watertight seal.
The Payoff: A Secure and Future-Proof Solar Array
I am incredibly happy with how this project turned out. The strut channel provides an incredibly strong and stable base for my solar panels. The ability to easily attach and detach the panels using the spring nuts and machine screws is a game-changer. Even if I decide to upgrade to different sized panels in the future, the existing strut channel foundation will almost certainly accommodate them with minimal effort.
Our first real test run with the new solar setup was a round trip from Los Angeles, CA to Austin, TX, and back. Through all the miles and varying conditions, the strut channel and panels held firm without a single issue. If you’re looking for a robust, flexible, and future-proof RV solar panel mount solution for your RV, I highly recommend considering aluminum strut channel.




Leave a Reply