Hanging hooks on drywall might seem like a daunting task, but with the right tools and a clear process, it’s a straightforward DIY project anyone can tackle. Whether you’re looking to hang pictures, shelving, or even a coat rack, knowing how to hang hooks on drywall is essential for a lasting and sturdy hold. This guide will walk you through the steps, ensuring your hooks are hung securely and your walls stay pristine.
Gathering Your Materials
Before you start drilling, make sure you have all the necessary supplies on hand. Having everything ready will make the process smooth and efficient.
Here’s what you’ll need:
- Hooks: Choose hooks appropriate for what you intend to hang. They come in various sizes and weight capacities.
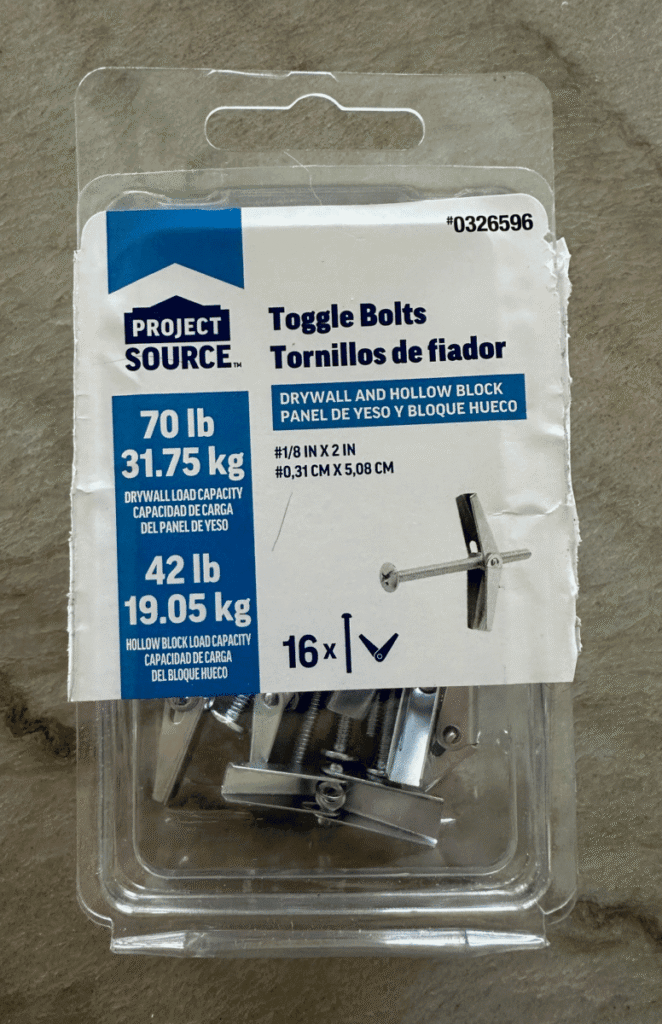
- Toggle bolts: For this method, you’ll need 3/8 inch toggle bolts. These are excellent for securing items in drywall because they provide a strong anchor behind the wall. I find that they are a great option for installing hooks that can support a lot of weight.
- Stud Finder: Used to identify if a stud or other item is located behind where you plan to install hook.
- Drill: Any standard power drill will work.
- 3/8 inch drill bit: This specific size is crucial to accommodate the toggle bolts.
- Screwdriver: Make sure it’s compatible with the screws on your toggle bolts.
- Pencil or marker: For accurately marking your drilling spot.
- Tape measure (optional): Useful if you need precise placement for your hooks.
- Waste bucket or similar: A small bucket, dustpan, or even a piece of cardboard will work to catch the drywall dust and debris, keeping your workspace clean.

Recommendations
Hooks
Here are a few options for similar hooks that I used:
Toggle Bolts
I had purchased the toggle bolts at my local Lowes store. Here are a few options from Amazon.com:
Step-by-Step Guide to Hanging Hooks
Now that you have your materials, let’s get to the actual process of hanging those hooks. Follow these steps carefully for a secure installation.
A. Identify and Mark the Location
The first step is to decide exactly where you want your hook.
- Determine the desired spot: Think about what you’ll be hanging and how it will look in the space. Use a tape measure if you need to be precise, especially for multiple hooks.
- Check for Studs or Other Obstacles: When using toggle bolts you need space behind the drywall. Use a stud finder to make sure you are clear. If needed, you can make use of the stud and secure hook directly into stud without a toggle bolt.
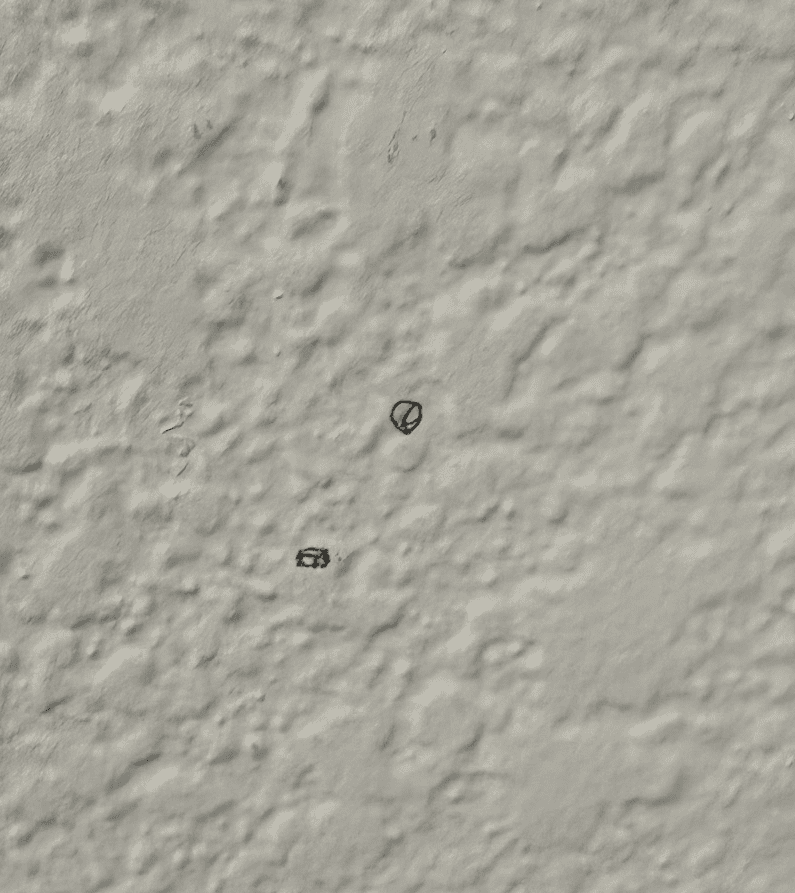
- Use a pencil or marker to clearly mark the drilling spot: A small “X” is usually sufficient. This mark will be your guide for the drill.

Pro Tip: If mounting near a bathroom you may need to check what is on the other side of the wall. I encountered putting a hook backing up to a medicine cabinet which made for a more challenging installation.
B. Prepare for Drilling
Drilling into drywall can create a bit of dust, but you can minimize the mess.
- Position a waste bucket or similar container directly below your marked spot: A small trash can, a dustpan, or even a flattened cardboard box will work perfectly to catch the falling debris. This simple step saves you from a larger cleanup later.
C. Drill the Hole
This is where your drill comes in.
- Attach the 3/8 inch drill bit to your drill: Make sure it’s securely fastened.
- Carefully drill a hole through the drywall at your marked spot: Apply steady, even pressure. Don’t force the drill; let the bit do the work. Once you’ve gone through the drywall, you’ll feel less resistance.
D. Prepare and Insert the Toggle Bolt
Toggle bolts are designed to expand behind the wall, creating a strong anchor.
- Insert the screw part of the toggle bolt through the hook: Most hooks will have a hole or loop designed for this.
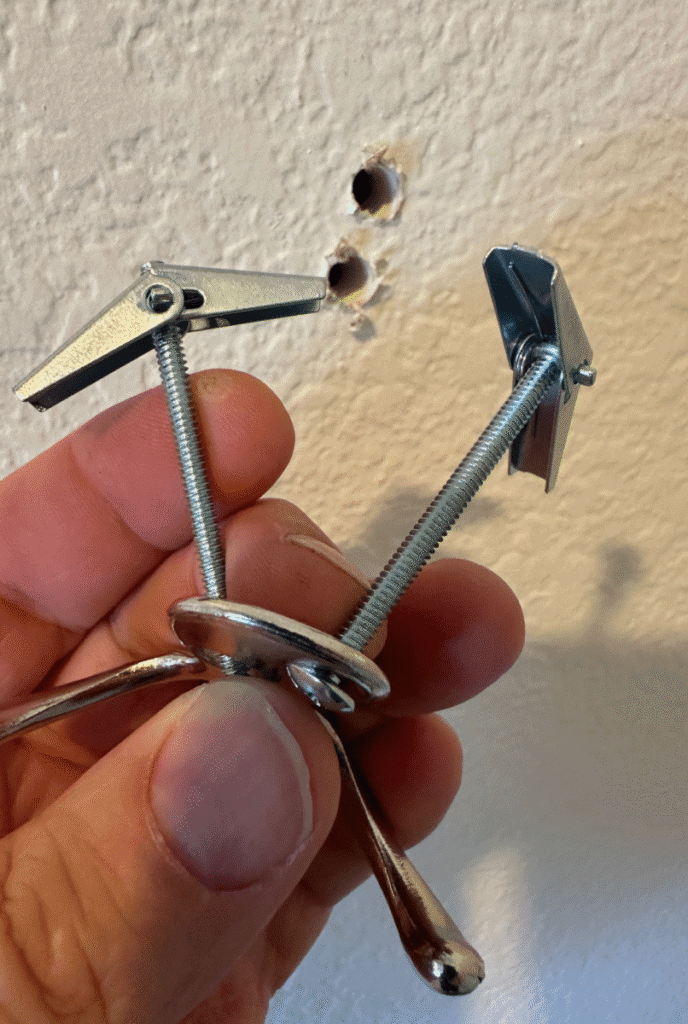
- Thread the anchor part of the toggle bolt onto the screw: The anchor typically has “wings” that will collapse when pushed through the hole. Make sure these wings are collapsed and ready to go through the drywall.
- Push the anchor part of the toggle bolt completely through the drilled hole until the wings spring open behind the drywall: You’ll feel a slight give as the wings pop open. This is the crucial step where the anchor secures itself on the other side of the drywall.

Pro Tip: If your hook has two holes, put on both toggle bolts at the same time and then push both anchor parts through hole before tightening.
E. Secure the Hook
Now, it’s time to tighten everything up and make sure your hook is sturdy.
- Pull the hook gently towards you to ensure the toggle bolt’s wings are flush against the inside of the drywall: You should feel some resistance, confirming the wings are open and caught on the drywall.
- Use a screwdriver to tighten the screw clockwise: As you turn the screw, it will pull the toggle bolt’s wings firmly against the back of the drywall, drawing the hook snugly against the front.
- Continue tightening until the hook is snug and stable, but avoid overtightening: Overtightening can strip the screw or even damage the drywall, weakening the hold. The goal is a firm, secure hook that doesn’t wiggle.
Tips for Success and Troubleshooting
Even with a clear guide, sometimes things don’t go exactly as planned. Here are some tips to ensure your hooks are hung perfectly and what to do if you encounter a snag.
- Tip: Always choose hooks and toggle bolts rated for the weight you intend to hang. Don’t try to hang a heavy mirror with a small picture hook. Check the packaging for weight limits to prevent items from falling and damaging your wall or belongings.
- Tip: If the toggle bolt doesn’t go in easily, ensure your drill bit size is correct and the hole is clear. Sometimes, a bit of drywall dust can obstruct the hole, or you might have accidentally used a drill bit that’s too small. Clear any debris and double-check your bit size.
- Troubleshooting: If the hook feels wobbly after tightening, re-tighten the screw. Sometimes, it just needs a little more torque. If it still wobbles, the toggle wings may not have fully opened or seated correctly against the inside of the drywall. In this case, you might need to carefully remove the toggle bolt and re-insert it, ensuring the wings fully expand.
Conclusion
Hanging hooks on drywall doesn’t have to be a source of stress or damaged walls. By understanding how to hang hooks on drywall using the toggle bolt method, you’ve gained a reliable technique that provides a strong, secure hold for your items. With a few simple tools and these straightforward steps, you can confidently tackle any hanging project, whether it’s for decoration or organization.
So go ahead, reclaim your space, and enjoy the satisfaction of a job well done. What will you hang first?


Leave a Reply