

Summertime is all about fun in the sun, and what better way to beat the heat than relaxing on a pool float? However, nothing can burst our bubble quicker than discovering a large hole in our beloved pool float or large inflatable. We’ve all been there – trying various DIY methods, only to find that the pesky leak just won’t stay fixed. But fear not! In this blog post, we’re diving into the ultimate guide on how to patch large hole in your pool float, even when all the standard methods have failed. Let’s get ready to make a splash with a perfectly repaired pool float that’s ready for many more summers to come!
How do you find a hole in a pool float?
1. Visual Inspection: The first step in identifying a leak in your pool float is to give it a thorough visual inspection. Inflate the float fully and look for any obvious signs of damage. These might include visible holes, tears, or areas where the material seems to be weakened. Pay close attention to seams, as these are often vulnerable points. If you spot a visible hole, mark it with a piece of tape for later repair.
2. Submersion Test: If you can’t find a visible hole, the next step is the submersion test. Fill a basin, bathtub, or pool with water and inflate the float. Carefully submerge the inflated float in the water and watch for bubbles. Bubbles rising from a specific area of the float indicate the presence of a leak nearby. Mark the area where the bubbles are coming from so you can target your repair efforts.
3. Soap and Water Solution: Another method to pinpoint a leak is by creating a soap and water solution. Mix dish soap with water and apply it to the inflated float using a sponge or spray bottle. Gently press the solution onto the surface, paying attention to seams and suspected weak spots. If there’s a leak, you’ll notice the solution forming bubbles at the site of the hole.
My large pool float issue
Last summer, we happily left our trusty pool float outside, basking in the sun alongside the house. Little did we know that the sun’s rays, reflecting intensely off one of our windows, had unleashed a stealthy assault on our beloved float. When we finally discovered the aftermath, we were met with a frustrating sight – a small hole, about the size of a dime, had been burned into the float’s surface. But that wasn’t all; the intense heat had also warped the surrounding material, turning a seemingly simple repair job into a daunting challenge. Our go-to standard repair patching method seemed inadequate in the face of this unexpected damage. Now, with the summer season approaching once more, we’re on a mission to find unconventional and effective solutions that can conquer this unyielding leak and restore our pool float to its former glory.
Large hole solution
My first attempt was to try the standard repair process by cutting out a piece of vinyl patch and gluing over the hole. This seemed to work at first but just leaving the float overnight resulted in in a deflated float.
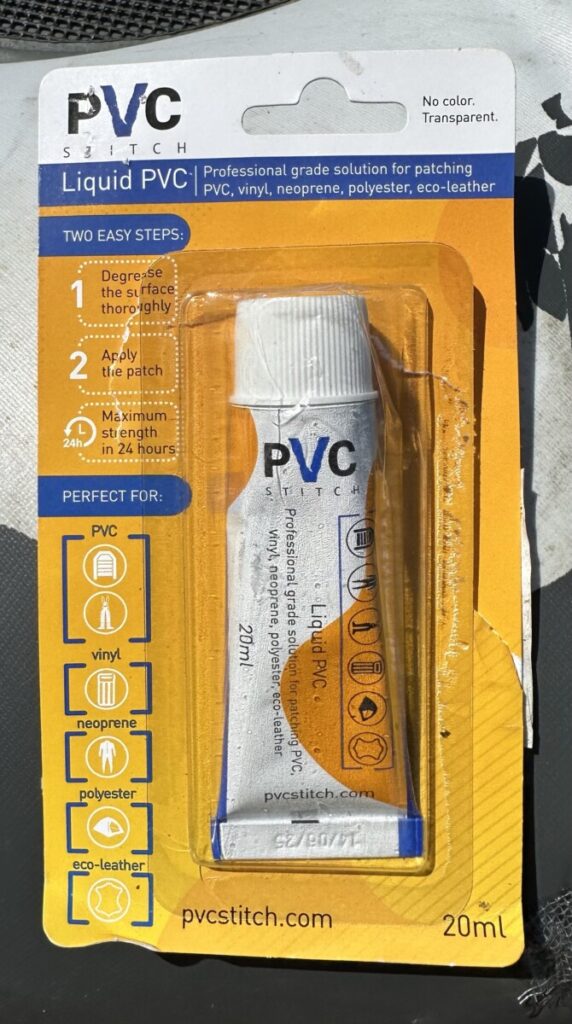
That is when I needed to find an alternative method. I came across PVC Stitch which advertises it is a heavy duty solution for items like air mattresses, waterbeds, above ground pools, bouncy houses and many more. This looked like a good solution to try in my situation. Make sure you purchase a kit that comes with reinforcing mesh cord.
Step-by-step pool float repair process
Here are the steps that I used to patch the large hole:
- Find a good work area that is ventilated or perform repair outside. You may need to keep float away from small children or pets while you are waiting for it to dry.
- Clean the area around the hole and allow to dry. The goal is to remove any grease.
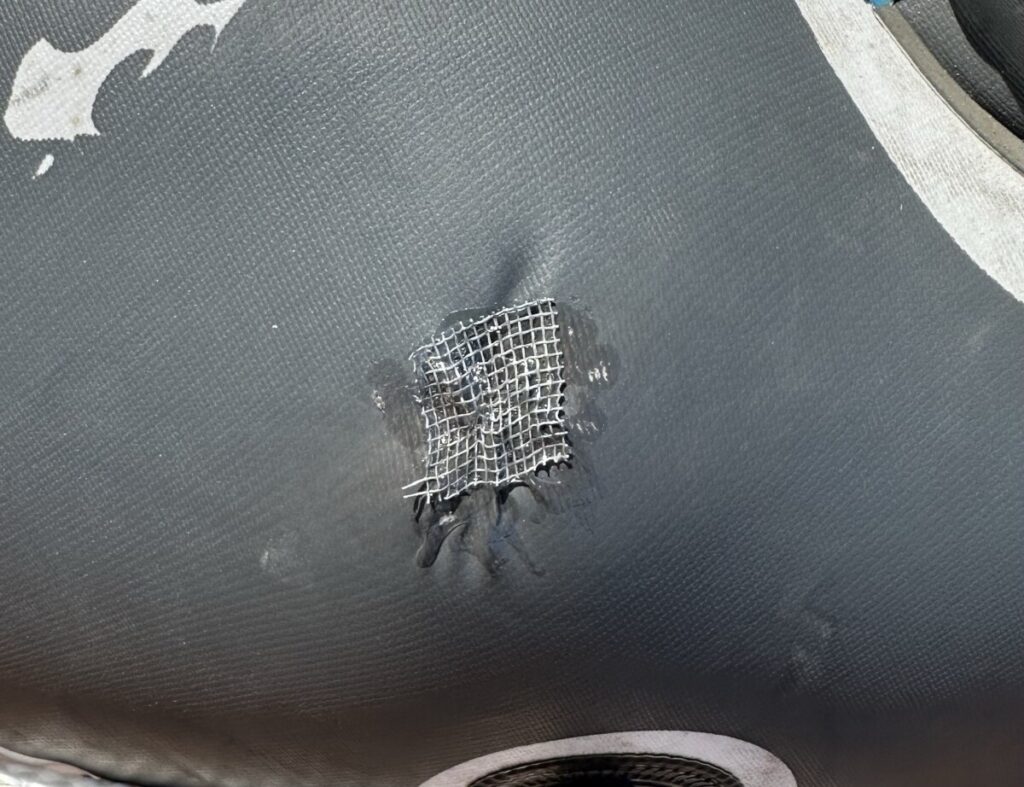
- Cut out a patch of the reinforcing cord that is enough to cover the hole and overlap the float.
- Apply PVC Stitch on the reinforcing cord making sure to entirely cover the hole. No need to smooth out, as it will self level.
- Now it is waiting time. Allow time to dry before use. I allowed mine to dry for 24 – 48 hours
Conclusion
As our journey to revive our pool float comes to an end, we can now proudly say that we’ve conquered the challenge! Large hole, no problem – we’ve learned to think beyond the conventional and successfully patched up our beloved float. So, the next time you face a similar predicament, don’t lose heart. Armed with the knowledge gained from our trial and error, you too can master the art of patching and make your pool float as good as new. Now, let’s dive back in and enjoy the summer to the fullest!


Leave a Reply