

Maximizing storage space in an RV can be a challenge, especially in models like the Jayco Precept 34G where every square inch counts. After searching for ways to optimize our space, I discovered a hidden opportunity in the bathroom cabinet. By removing a panel designed to conceal wires, I transformed it into extra storage—perfect for stashing toiletries or other essentials. If you’re looking to get the most out of your RV’s layout, follow along as I show you how to implement the Jayco Precept 34G storage hack.
I originally came across the idea for this storage solution at the following message board post:
Overview of the Jayco Precept 34G Storage Hack
The goal of this storage hack is to create additional space in the bathroom cabinet by modifying the panel that conceals wiring. This quick and affordable project involves a few simple steps and minimal materials, many of which I had as scrap from previous projects. Here’s the basic plan:
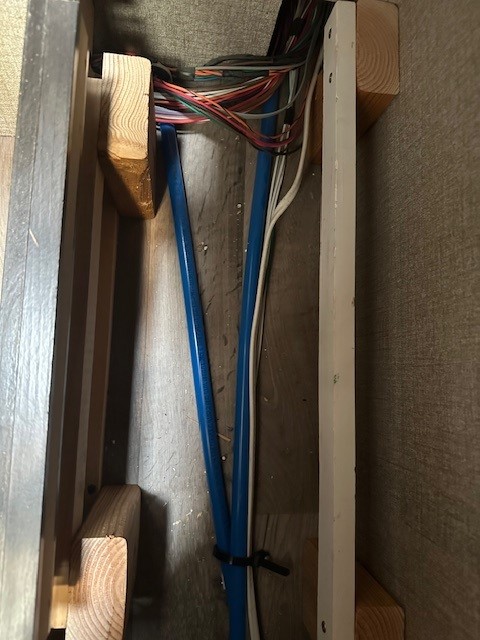
- Removing the Panel – Start by unscrewing the two screws that hold the panel in place. This exposes the space behind it, which contains some wiring.
- Adding a Floor Over the Wires – To safely create usable storage without disturbing the wiring, I cut a piece of scrap wood to fit as a floor over the wires. This provides a solid base for the new storage area.
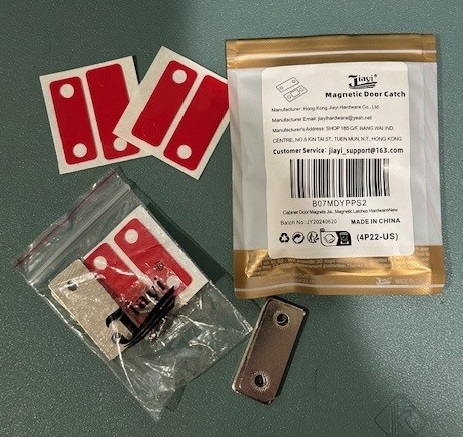
- Installing Cabinet Magnets – I attached small cabinet magnets to ensure the panel stays in place once it’s reinstalled, but still allows easy access to the wiring if needed.
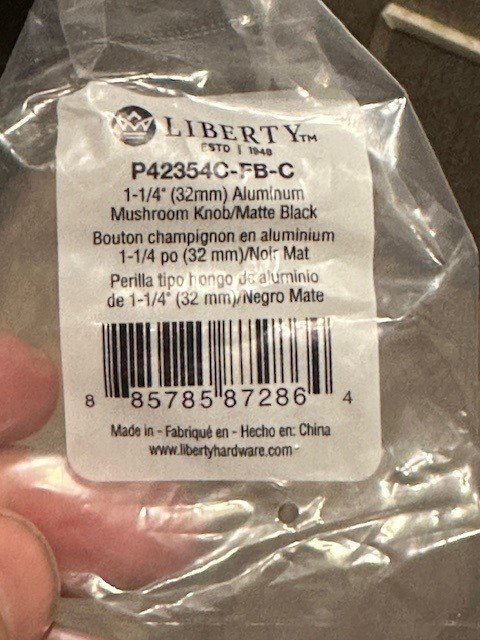
- Adding Cabinet Door Knobs – To make the panel functional as a door, I added two small cabinet door knobs, turning this hidden space into easily accessible storage.
The entire project cost about $10 for additional materials like cabinet magnets and door knobs, and I was able to use scrap wood for the base. In a few easy steps, I transformed unused space into practical storage!
Tools and Materials Needed for the Jayco Precept 34G Storage Hack
Here are the materials and tools I ended up using for this project.
Materials
- Scrap Wood:
- Thin pieces of plywood for floor
- Some 2x4s for floor support
- Some 2×1’s or 2x2s for floor support
- Peel and Stick Vinyl Flooring (Optional) – Used to cover plywood used for floor.
- Screws:
- Decking screws and/or drywall screws
- Cabinet Magnets – Here are what I used:
- Cabinet Door Knobs – I picked up mine at a local hardware store but the following look like they would work out nicely:
- Small Washers – Used when installing door knobs.
Tools
- Screwdriver
- Measuring Tape
- Pencil
- Miter Saw
- Circular Saw
- Sander
- Vacuum
- Safety Gear
- Clamps
- Punch
- Drill
- Drill Bits
- Square
- Hacksaw (optional)
Procedure for the Jayco Precept 34G Storage Hack
Follow these simple steps to transform unused cabinet space into practical storage in your RV:
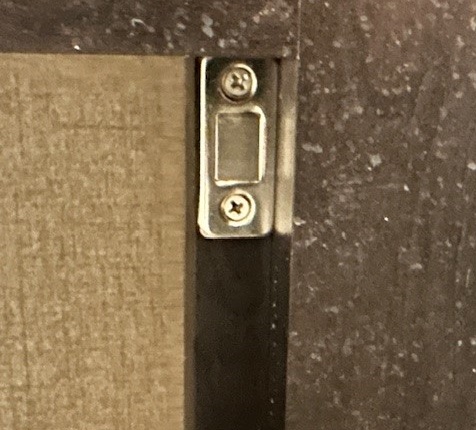
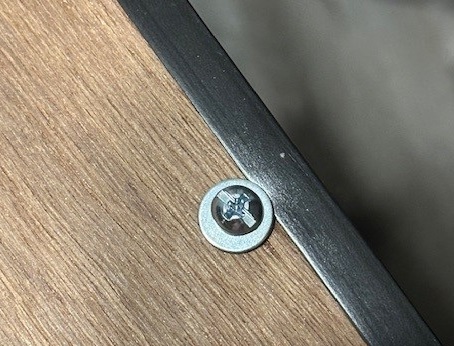
1 – Remove the Cabinet Panel
There are two screws securing the cabinet panel to the frame. Use a Phillips head screwdriver and remove the screws. Then you can remove the panel. You may need a pry tool or small screwdriver to help you remove the panel. Be careful to not damage the panel as you will be reusing this for the removable door.
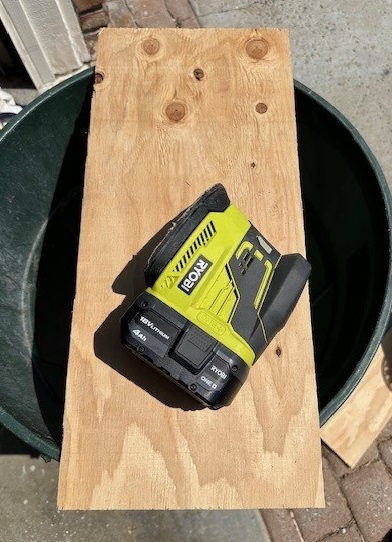
2 – Measure and Cut the Floor Piece
Use a tape measure to measure the floor. Your size may vary. I ended up using 23″ x 10.5″. Mark off this dimension on a scrap piece of plywood with a pencil. Then use a saw to cut out the floor piece. I used a cordless circular saw, but a jigsaw could also work. Make sure you wear the proper safety gear when using the saw.
Once the piece is cut, it would be good to sand any rough edges.
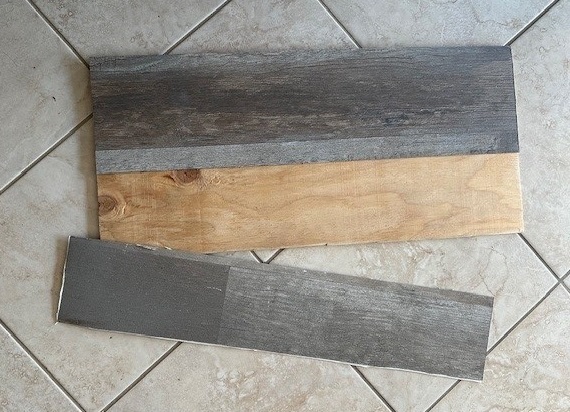
3 – Apply Vinyl Flooring
I highly recommend covering the plywood with some material to make the floor look nicer. I just happened to have some spare peel and stick flooring that is easy to cut and attach to the plywood. An alternative is to use a different material for the floor other than plywood.
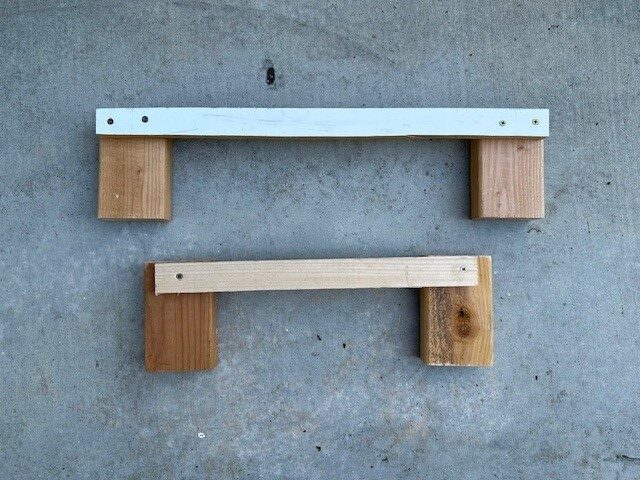
4 – Build the Floor Support
You will need to find a way to attach the floor. I ended up building two support pieces. I wanted the floor to be off the ground about 5.5″. This is due to the cutout in the wall going to the back bedroom for the wires and plumbing to run.
I ended up cutting some scrap 2 x 4’s to a length of 5.5″. I then found some 1 x 2’s that I then cut to 23″ and 18″ and I used drywall screws to attach to the 2 x 4’s as shown in the picture below.
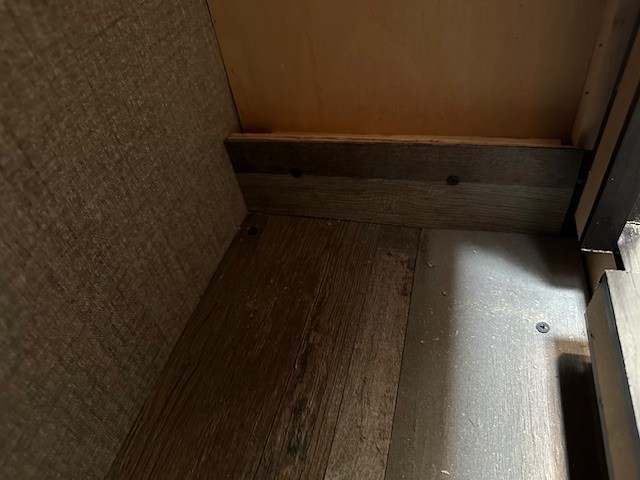
5 – Install the Floor
To install the floor you will use the supports that you created and then place floor on top of them and use 4 screws to secure the floor to the supports.
The picture below shows the supports in place. I just set them in place and attached the floor. You may want to consider finding a way to secure them to ensure they do not move around. You could use tape or screws.
To attach the floor you just lay the floor piece on top of the supports and put a screw in each corner where the 2 x 4s are located. Note that you may need to put the floor in first without the supports in place and then hold the floor up at the ceiling of the cabinet and then put the supports in place as with the supports installed before the floor it may make it hard to get the floor piece into the cabinet.
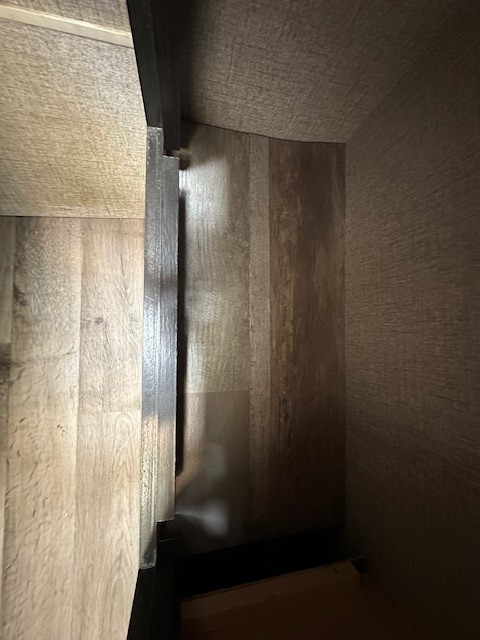
6 – Install Side Wall
With the floor at 5.5″ this left a little gap on the right side. I could have installed the floor higher to eliminate this gab but I wanted as tall of a storage space as possible. To cover this gap I just cut out another piece of plywood. The dimensions were around 10.5″ x 3″. To match the floor, I used the peel and stick flooring and then I attached this side wall to the existing support piece using two drywall screws.
DIY Pro Tip: Be careful installing this piece to try and avoid dropping it down the gap like I did. Luckily my daughter was around and was able to retrieve it with her smaller hands.
7 – Attach Cabinet Magnets
I ended up using 4 cabinet magnets in each of the four corners. I started by installing the magnets to the cabinet frame. I used the double sided tape as well as the screws. I used a punch to start the hole for the screws.
I then attached the other pieces to the panel in the four corners so they would match up with the ones on the cabinet frame. For these I only used the double sided tape as the panel was too thin for screws. I then used 4 clamps to apply pressure and left this overnight.

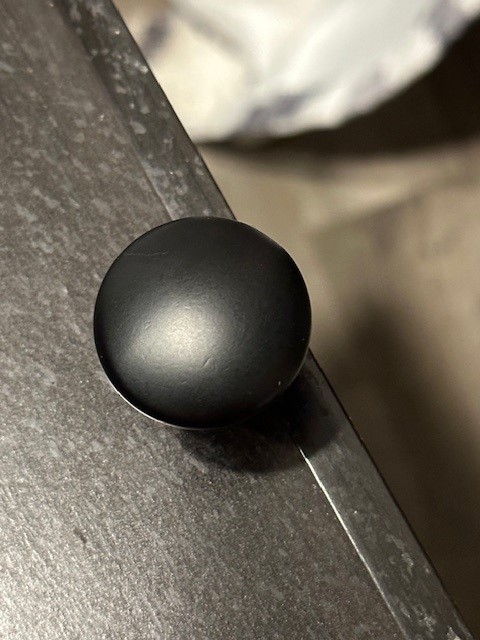
8 – Add Cabinet Door Knobs
To install the cabinet door knobs you will re-use holes from the screws that held the panel in place previously. You should test if the bolt that came with the door knobs fits. I needed to enlarge the hole so I found a drill bit that was the same size as the bolt and made the hole larger.
You should also test the length of the bolt. Since the panel is pretty thing you may need to shorten the bolt or find a replacement. I keep a jar of miscellaneous bolts left over from other projects and I quickly found two of a size that works. If you don’t have any spares you could use a hacksaw to trim the bolts to proper size.
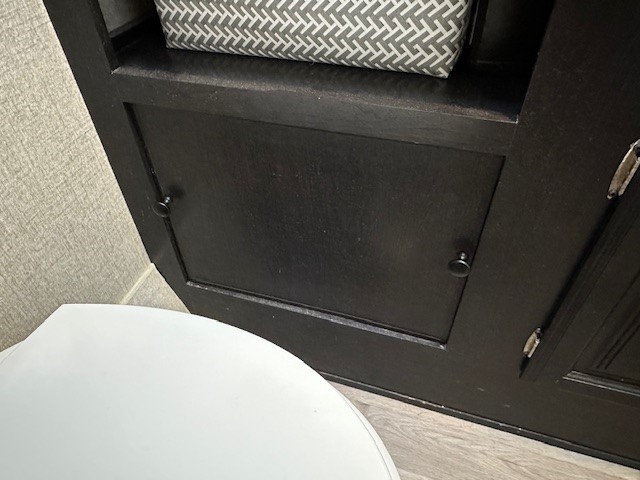
9 – Reattach the Panel
You are now ready to put the panel back in place. You can just grab it by the two knobs and insert it in place making sure that the magnets catch and hold the panel in place.
10 – Cleanup
Now it is time to get the vacuum or shop vac out and clean up any saw dust and other debris. You can also put away all your tools.
Conclusion
By following this simple storage hack, you can make the most of the space in your Jayco Precept 34G RV without any major modifications. With just a few inexpensive materials and minimal effort, you’ve transformed a hidden area behind the bathroom cabinet panel into practical storage. Whether you’re looking for extra space for toiletries or other small items, this DIY project offers a convenient solution for maximizing storage in your RV. Best of all, it’s a budget-friendly upgrade that maintains access to essential wiring, proving that a little creativity can go a long way when it comes to RV living.


Leave a Reply