Looking to add some charm and greenery to your outdoor space? A trellis on a brick wall is the perfect way to create a stunning vertical garden that combines beauty with functionality. Whether you’re looking to support climbing plants or simply enhance your patio area, mounting a trellis on a brick wall can seem like a daunting task. But don’t worry! With the right tools and a step-by-step guide, you’ll have it up in no time. In this post, we’ll walk you through everything you need to know to securely mount your trellis and transform your space.
What You’ll Need:
Before we get started, make sure you have the following materials:
- Trellis (wooden, metal, or composite)
- Masonry screws or anchors
- Masonry drill bit
- Drill (with hammer option)
- Level
- Tape measure
- Pencil or chalk
- Screwdriver
- Safety glasses
- Work gloves
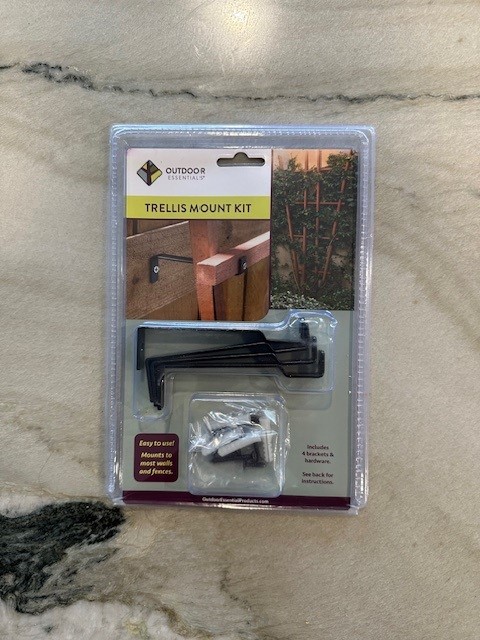
Here are the trellis mounts that I used for my project. They were hard to find. These particular ones came from Lowes. It looks like they are also available on Amazon at the following link: Outdoor Essentials Trellis Mount Kit
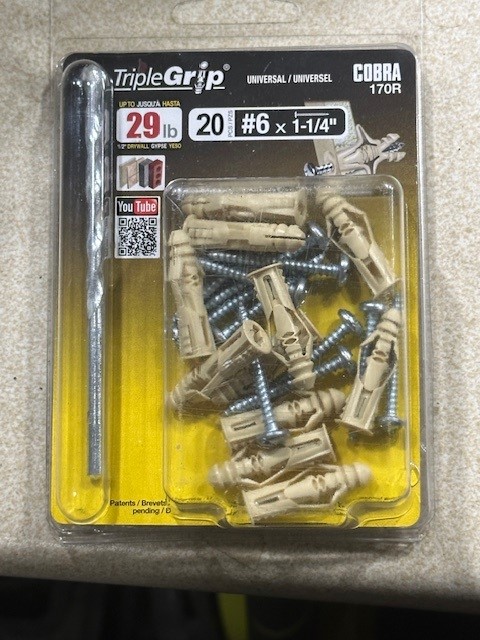
Here are the anchors I used for the securing to the brick wall. I purchased these at Home Depot but you can find similar items at other locations and even Amazon. The following might be a good solution from Amazon: Ribbed Wall Anchors #4-#6 7/8 inch with Screws.
Mounting Trellis on a Brick Wall Procedure
Step 1: Choose the Right Location
First, decide where you want to install the trellis. Choose a spot on the brick wall that gets enough sunlight for your climbing plants. Ensure the surface is clean and free of debris or dirt. For my installation, I centered it above a planter box. I measured overall length and then divided in half.
DIY Pro Tip: Make sure the trellis won’t block any drainage or vents, and there’s enough space for plants to grow freely.
Step 2: Measure and Mark the Position
Use a tape measure to determine the exact placement of the trellis. Measure both the wall and the trellis to center it properly. Once you’re satisfied with the position, use a pencil or chalk to mark where you will drill holes. These marks should align with the trellis mounting points.
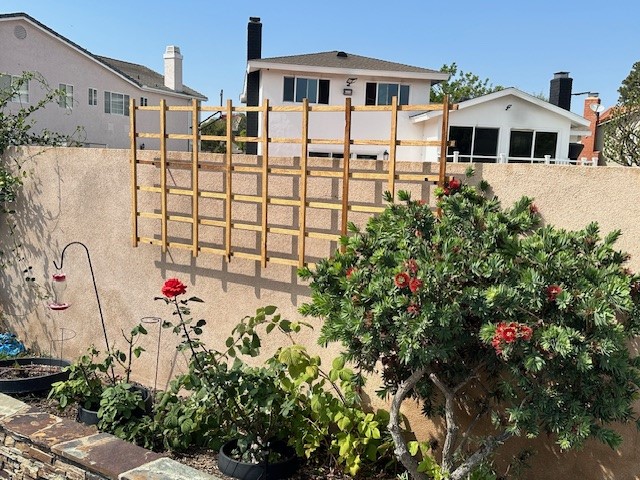
For my installation we were adding two trellises and we made sure they were centered above the planter box they were getting installed above.
DIY Pro Tip: Double-check everything with a level to ensure the trellis is straight.
Step 3: Drill Pilot Holes in the Brick
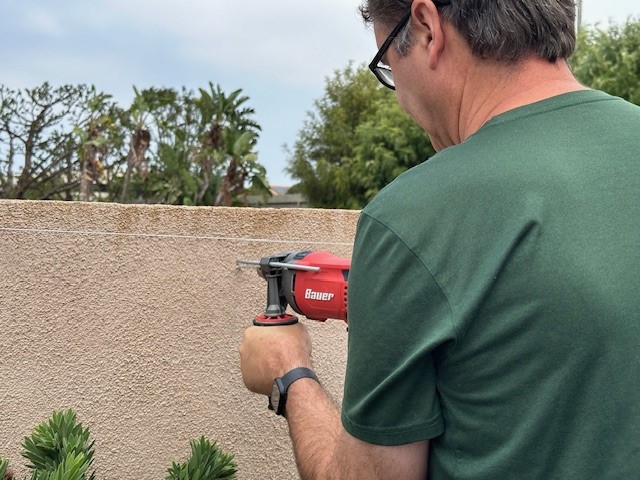
Now, put on your safety glasses and gloves. Using a masonry drill bit that’s slightly smaller than your masonry screws or anchors, drill pilot holes into the brick wall where you made your marks. Be sure to drill directly into the brick, not the mortar, for a more secure hold. Aim for a depth slightly longer than the length of your screws. Having a drill with a hammer option will definitely help.
Step 4: Insert Masonry Anchors or Screws
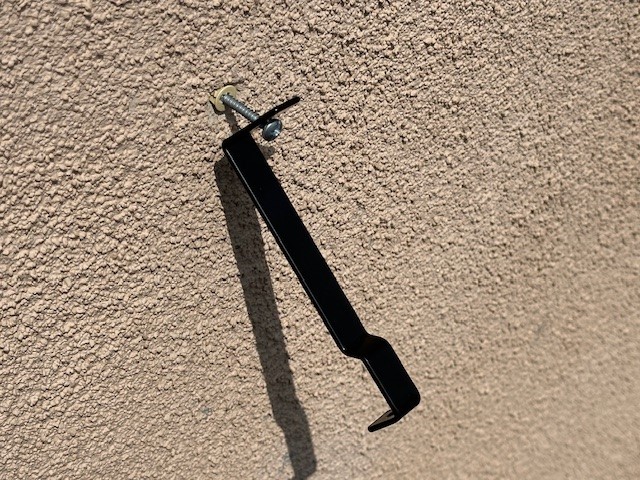
If you’re using masonry anchors, tap them into the drilled holes with a hammer until they are flush with the wall. Then, align the trellis with the holes and use a screwdriver to insert the screws through the trellis/bracket and into the anchors.
If you’re using masonry screws, simply align the trellis over the pilot holes and drive the screws directly into the brick using a power drill or screwdriver.
Step 5: Attach Trellis
Now that all the brackets are in place, you can now attach the trellis to the brick wall. You need to drill a small pilot hole and insert anchor.
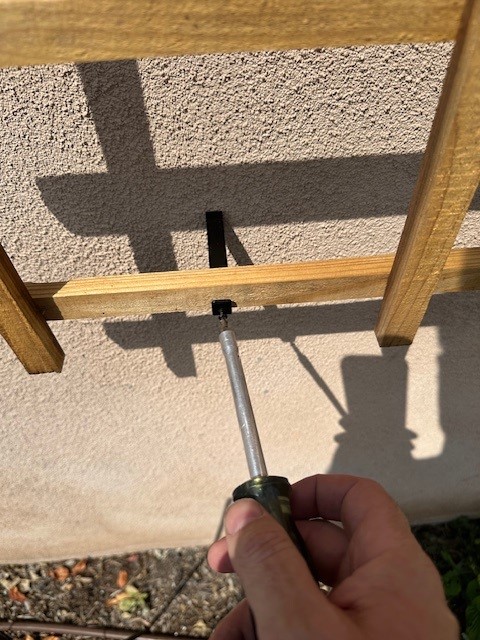
Step 6: Double-Check Alignment and Tighten
Once the screws are in place, use the level to double-check that the trellis is straight. If it’s slightly off, loosen the screws, adjust the trellis, and then tighten the screws again.
Step 7: Add Your Plants
Now that your trellis is securely mounted, it’s time for the fun part — adding your plants! Choose climbing plants like ivy, jasmine, or clematis, and train them to grow along the trellis. Over time, your trellis will be covered with lush greenery, creating a beautiful focal point in your garden.
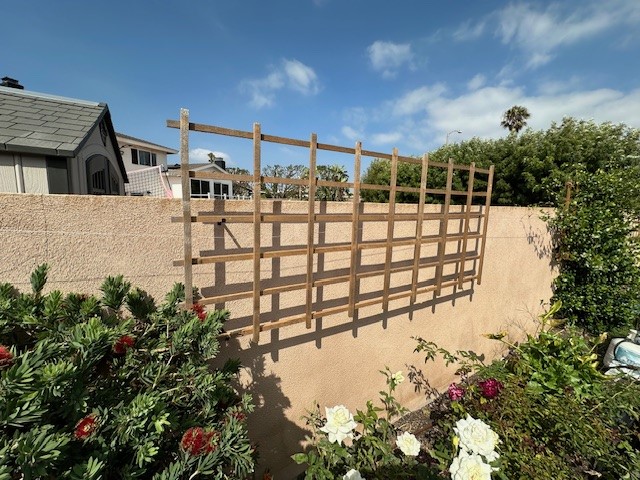
We had an existing trellis for our Jasmine plant and added two more trellises for it to expand.
Conclusion
Mounting a trellis on a brick wall might seem challenging, but with the right tools and a step-by-step plan, you’ll have it up and ready to go in no time. Not only will this project enhance the look of your garden, but it also gives your climbing plants the structure they need to thrive.
So, what are you waiting for? Start mounting your trellis on a brick wall today and watch your garden transform into a vertical paradise!




Leave a Reply