Ever found yourself locked out of your RV, scrambling for a spare key? It’s a frustrating situation no RVer wants to be in. That’s why installing an RV hide a key is such a smart and simple upgrade for peace of mind on the road. This guide will walk you through the process, helping you choose the right spot and secure your spare key effectively.
Finding Your Perfect “Hide a Key” Location
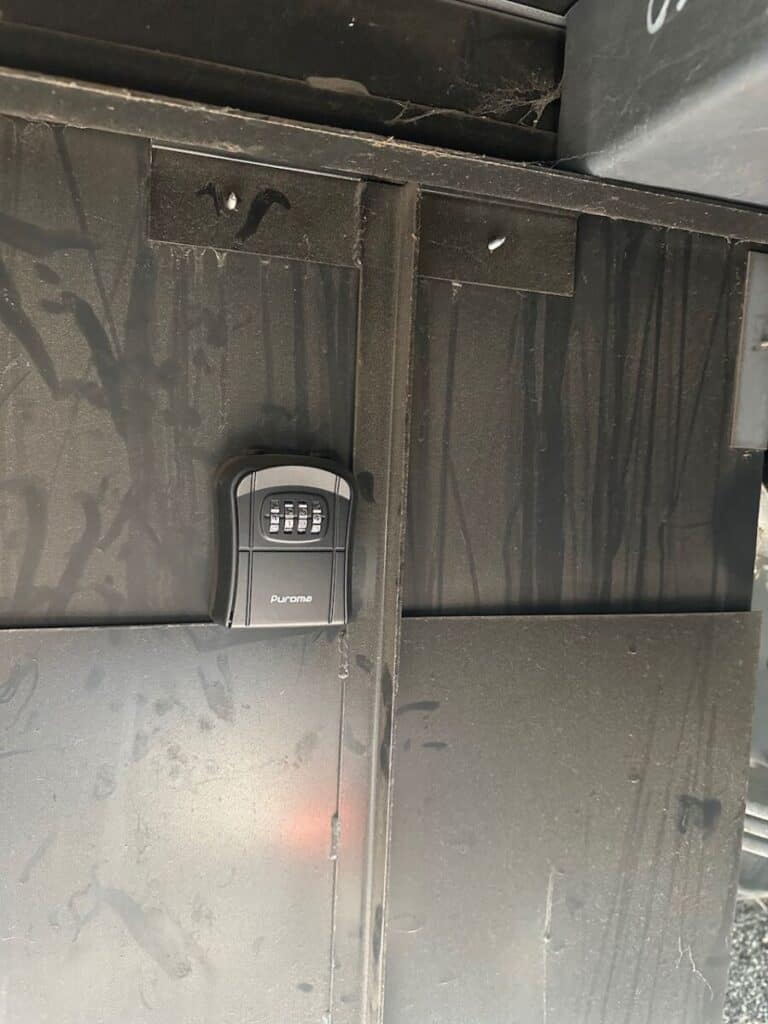
The first step in installing your RV hide a key is finding a discreet yet accessible location on your RV. You want somewhere that’s out of sight from casual observers but easy for you to reach. On my RV, I discovered an ideal spot behind the rear wheel well on the driver’s side of my 2021 Jayco Precept 34G. This area, conveniently located near the dump valves, offered ample space and was relatively protected from the elements.
When choosing your location, consider:
- Discretion: Is it out of the direct line of sight?
- Accessibility: Can you easily reach it when needed?
- Protection: Is it somewhat shielded from road grime, water, and extreme temperatures?
- Space: Is there enough room to comfortably mount your lock box?
Materials and Tools Needed
Before you begin, gather the following materials and tools to ensure a smooth installation of your RV hide a key:
- RV Hide A Key Lock Box: Choose a durable, weather-resistant lock box designed for outdoor use. Many come with a combination lock or a key lock.
- Drill: A standard power drill will be needed to create the mounting holes.
- Drill Bits: Select drill bits appropriate for the size of your bolts and the material you’ll be drilling into (e.g., metal, fiberglass, plastic). Start with a smaller pilot bit if unsure.
- Bolts, Nuts, and Washers: Stainless steel bolts are recommended for their rust resistance. Choose a length that will pass through your lock box and the RV’s surface, with enough thread for the nut. Washers help distribute pressure and prevent damage.
- Marker: A permanent marker or pencil to mark your drilling spots.
- Safety Glasses: Always protect your eyes when drilling.
- Wrench/Socket Set: To securely tighten the nuts onto the bolts.
- Measuring Tape (Optional but Recommended): For precise placement.
- Cleaning Cloth (Optional): To wipe down the area before installation.
Recommended Key Lock Box
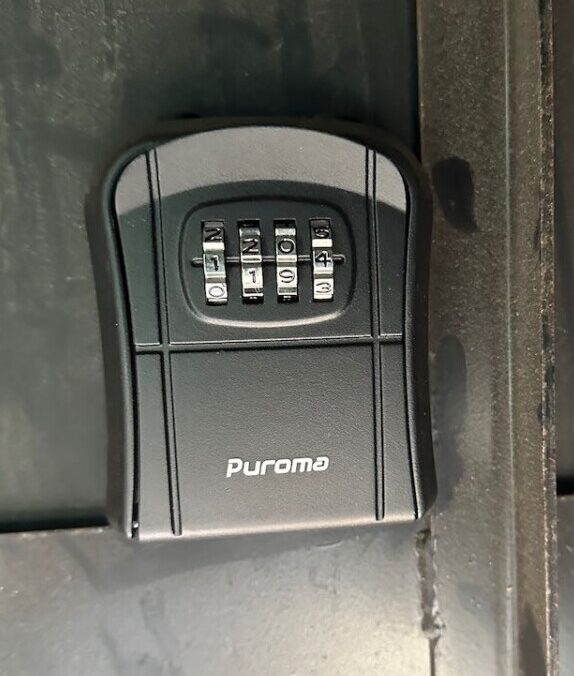
I personally opted for the Puroma Key Lock Box, a portable combination lockbox that’s also wall-mountable, offering resettable code security for my spare keys.
Installation: Drilling and Securing Your RV Hide A Key
Once you’ve identified your ideal spot, the installation process for your RV hide a key is straightforward. For my chosen location, it involved a few simple steps:
- Marking: Carefully hold your lock box in place and use a marker to indicate where the mounting holes will be.
- Drilling: Using a drill bit appropriate for your chosen bolts and the material of your RV, carefully drill the marked holes. Be mindful of any wiring or pipes that might be behind the surface.
- Securing: Insert your bolts through the lock box and the drilled holes. Secure them tightly with nuts and washers from the inside of the wheel well or access point. This ensures a robust and tamper-resistant installation.
This method of securing the lock box with bolts provides a much more reliable solution than adhesive options, ensuring your RV hide a key stays put no matter where your adventures take you.
Conclusion
Installing an RV hide a key is a small investment that offers significant peace of mind. No more fumbling for keys or worrying about accidental lockouts. With a little planning and a few basic tools, you can have your spare key securely stashed away, ready for whenever you need it. Happy travels!





Leave a Reply