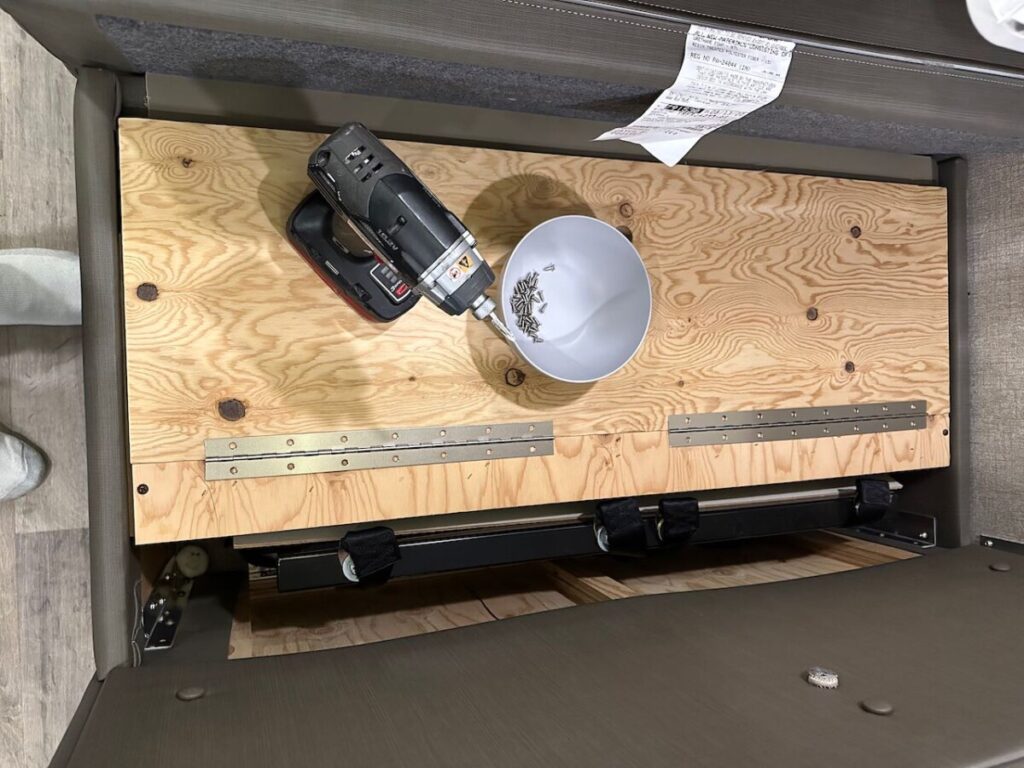
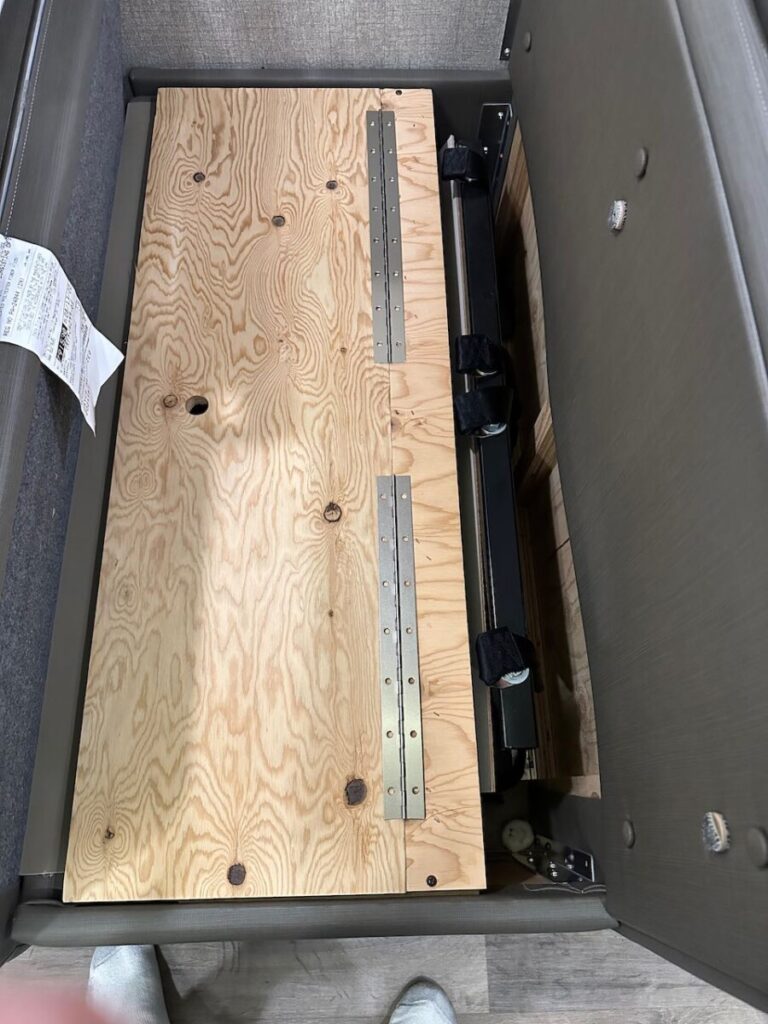
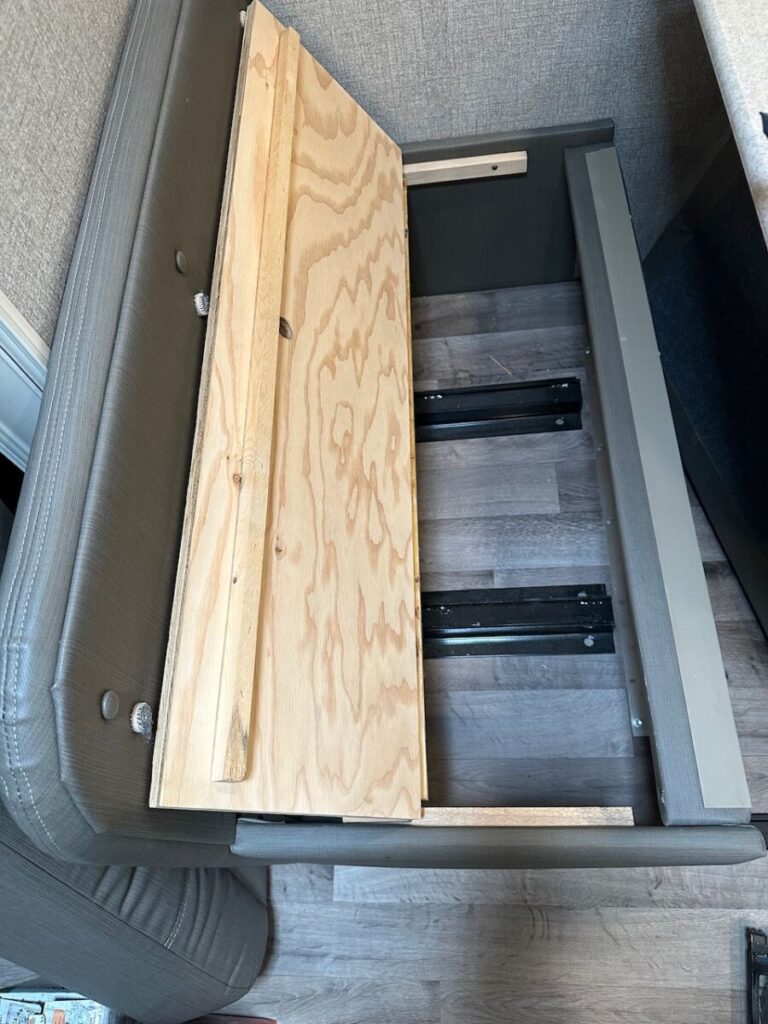
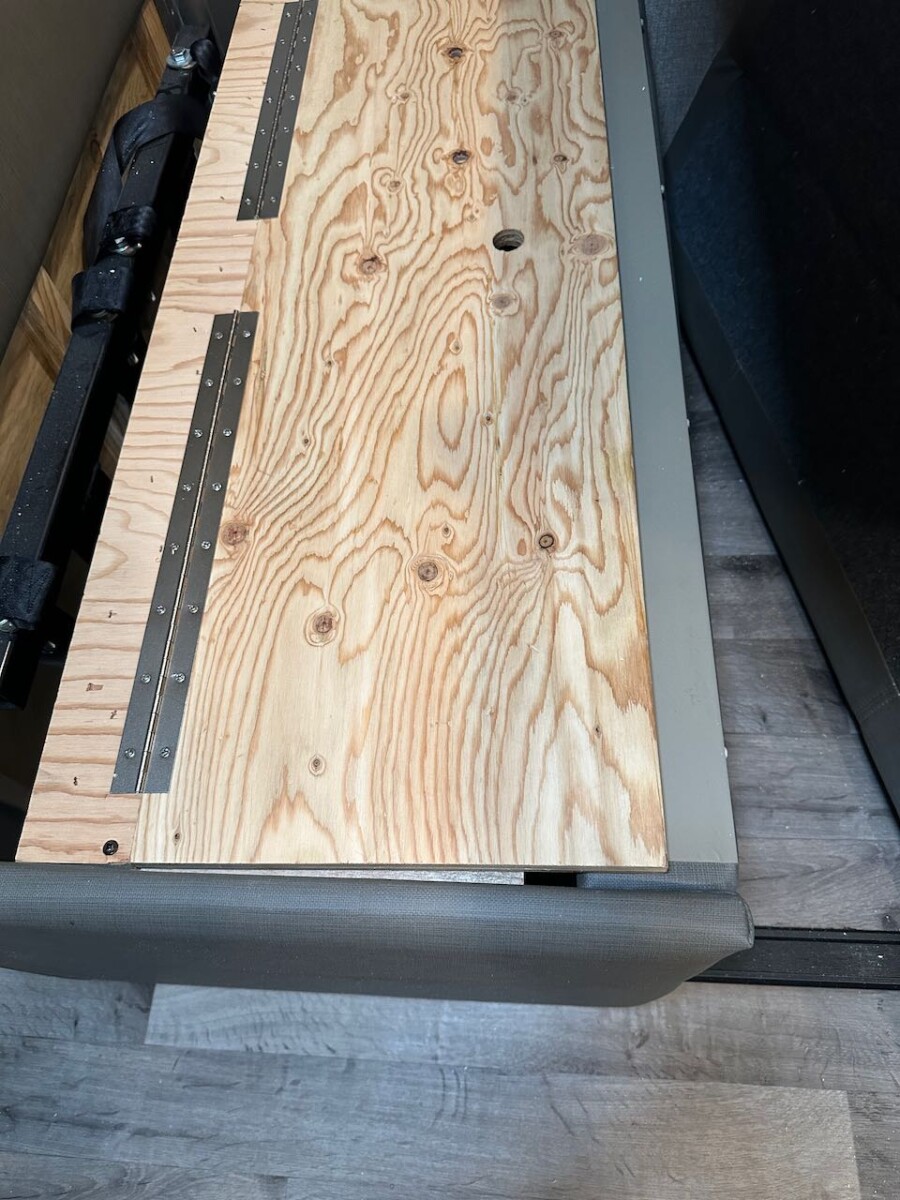
Dealing with the clunky, removable panels of an RV dinette is a common frustration for many campers. You’ve got great storage space, but getting to it feels like a chore. Constantly lifting heavy wood panels can be a pain, especially when you need to grab something quickly. But what if there was an easier way? In this post, we’ll show you how a simple RV dinette storage hinge can transform your space, turning those frustrating panels into easily accessible doors. Get ready to say goodbye to the hassle and hello to convenient, easy-to-reach storage! This is the solution I used for our 2021 Jayco Precept 34G.
Materials & Tools Needed
Before you start, it’s a good idea to gather all your materials and tools in one place. You probably have most of these items in your RV repair kit or garage already.
Materials
- Continuous piano hinge: This is the star of the show. Make sure you buy a hinge that’s the same length or slightly longer than your dinette panel. You can easily cut it to size.
- Wood screws: Check the thickness of your wood panels and buy screws that will go through the hinge and into the panel without poking through the other side. Most piano hinges come with screws.
- Painter’s tape: This is a simple but crucial item for holding the hinge in place while you mark your holes and get the initial screws in.
Tools
- Drill and appropriate drill bits: You’ll need a drill to predrill holes for your screws. A bit slightly smaller than your screws will prevent the wood from splitting.
- Measuring tape & pencil/marker: Accurate measurements are key to making sure your hinge is straight.
- Hacksaw or metal-cutting tool: If your piano hinge is longer than your panel, you’ll need this to cut it to the perfect length. For my solution I cut a 30″ hinge almost in half and used each piece towards the edge of each side.
- Screwdriver: While your drill can do most of the work, a hand screwdriver can be useful for tightening the final screws without stripping them.
- Sander: Once the hinges are in place you may need to sand the panels a little bit so they close properly.
- Safety glasses: Always protect your eyes when working with tools and wood.

The Problem: Why This Upgrade is Necessary
If you own an RV, you know that every square inch of space is precious. The storage underneath the dinette benches is a goldmine for stowing away all sorts of gear, from blankets and games to tools and cleaning supplies. The problem, however, is the way most of these storage areas are designed. They typically have removable wooden panels that rest on top of the storage compartment.
While this works, it’s not exactly convenient. To get to anything inside, you have to lift a heavy panel, which can be awkward and tiresome, especially in a small space. This process often requires you to move cushions or other items on the bench just to get the panel off. Over time, this constant lifting and shifting can lead to scuffs and damage on the panels themselves. A simple RV dinette storage hinge solves this problem by turning a cumbersome panel into a functional, easy-to-use door.
Step-by-Step Installation Guide
Now for the fun part! This step-by-step guide will walk you through the entire process. Remember to put on your safety glasses and take your time.
- Preparation: First, remove your dinette panel(s) and any cushions. Clean the area where the panel rests and wipe down the panel itself. Use your measuring tape to get the precise length of the panel. This is the length you’ll need for your hinge.
- Cutting the Hinge: Unless you bought a hinge that’s the exact length, you’ll need to cut it to size. Close the hinge completely and use a hacksaw to cut it to the length you just measured. After cutting, use a metal file to smooth out any rough or sharp edges on the cut end. For my solution, I cut a 30″ hinge almost in half (shift as necessary to find a good place to cut) and used each piece towards each end of the wood panel.
- Positioning the Hinge: Lay your panel flat on a workbench or the floor. Place the hinge along the long edge of the panel where it will attach to the dinette frame. Use a few small pieces of painter’s tape to temporarily hold the hinge in place. This is a crucial step to ensure everything is perfectly straight before you start drilling.
- Attaching to the Panel: With the hinge taped in place, use your drill to predrill pilot holes for the screws. This prevents the wood from splitting. Once the holes are ready, start screwing one side of the hinge securely to the panel. Use all the screw holes for the best possible hold.
- Attaching to the Dinette Frame: Now, place the panel (with the hinge attached) back onto the dinette frame. With a pencil or marker, carefully mark the location of the screw holes on the frame side of the hinge. Remove the panel again, so you have a clear surface to work on.
- Final Installation: Predrill the screw holes on the dinette frame and then place the panel back one last time. Securely screw the second side of the hinge into the frame. Once all the screws are in, remove the painter’s tape and test your new hinged panel. It should open and close smoothly!

Pro Tips for a Perfect Finish
While this is a simple project, these little tips can help you get a professional-looking result and avoid common mistakes.
- Mind Your Screw Length: A common pitfall is using screws that are too long and drilling straight through the top of your dinette panel. Always check the length of your screws against the thickness of your wood panel.
- Handle Rounded Edges: If your dinette panels have rounded corners, you can use a rasp or a file to carefully round the corners of your piano hinge. This ensures a flush, seamless fit.
- An Extra Set of Hands: Having a helper to hold the panel in place while you mark holes and install screws can make the process much faster and easier, especially if you’re working in a tight space.
The “After” Transformation
Now that you’ve completed the installation, it’s time to admire your work! What was once a frustrating, cumbersome panel is now a fully functional door. You can simply lift the panel with one hand to get to your belongings, without having to move cushions or wrestle with heavy wood. This simple upgrade makes a world of difference. Your RV dinette storage is not only more organized but also truly accessible, saving you time and effort on every trip. Enjoy the newfound convenience and the satisfaction of a successful DIY project!


Leave a Reply