

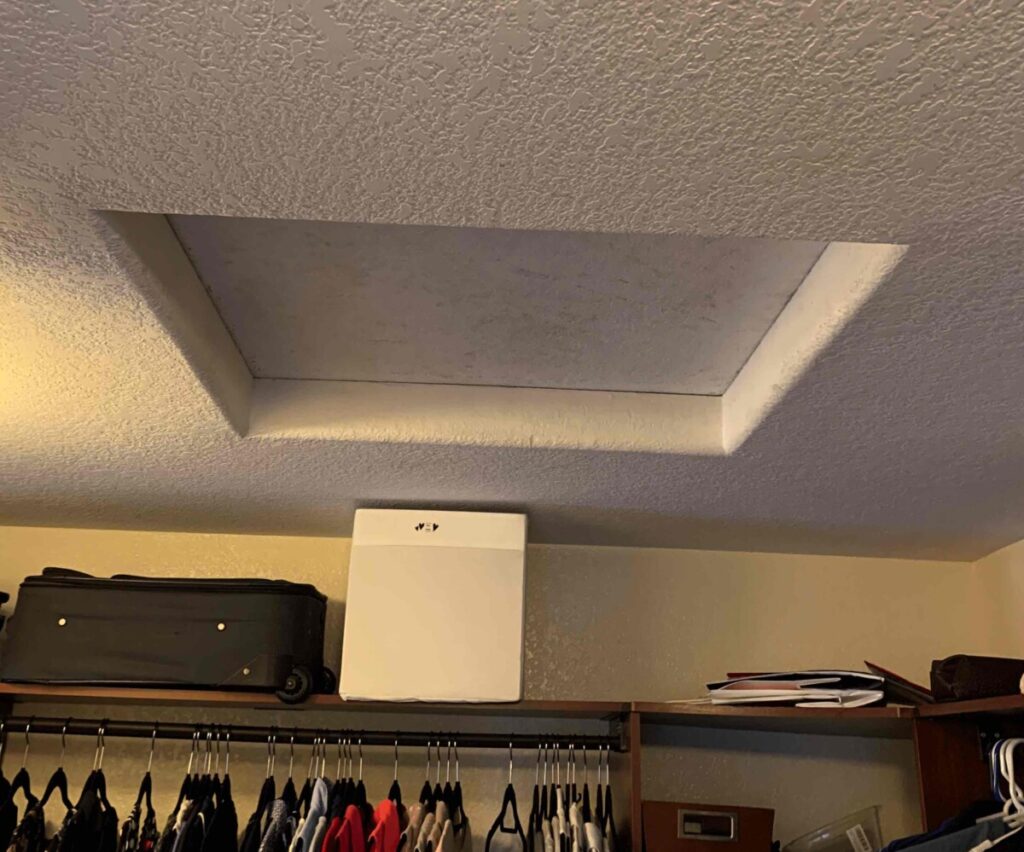
Attic ladder installation can dramatically improve access and storage in your home. Discover how I transformed a small, inconvenient opening—once accessible only by a wobbly step ladder—into a practical and convenient solution by enlarging it and installing a pull-down attic ladder. Follow this step-by-step guide to achieve the same transformative results in your own space!

Planning Your Attic Ladder Installation
Before you even think about cutting into your ceiling, careful planning is key to a successful attic ladder installation. This initial stage involves choosing the right ladder for your needs and precisely determining its best location. Rushing this step can lead to headaches, so grab your measuring tape and let’s get organized.
Choosing the Right Attic Ladder
Not all attic ladders are created equal, and selecting the right one is crucial for safety and functionality. Consider these factors:
- Types of Ladders: You’ll find various styles, including folding wood, folding aluminum, and even telescoping models. Wood ladders are often sturdy and can be insulated, while aluminum ladders are typically lighter.
- Weight Capacity: This is paramount! Check the ladder’s weight rating to ensure it can safely support both the person climbing and any items being carried up or down. Don’t overlook this critical safety spec.
- Ceiling Height Compatibility: Ladders are designed for specific ceiling heights. Measure your floor-to-ceiling distance accurately to ensure the ladder will extend correctly and rest firmly on the floor when deployed.
- Rough Opening Dimensions: Every ladder requires a precise rough opening in your ceiling. Always refer to the manufacturer’s specifications before cutting. A ladder that’s too big or too small for your opening means extra work or a trip back to the store.
- Material and Features: Think about durability, the ladder’s weight, and any additional features like handrails for safety, insulation to prevent energy loss, or even fire ratings if that’s a concern for your home.
Attic Ladder Recommendations
The model I installed is no longer available. Here are a couple that look to be similar:
Selecting the Ideal Location
Where you put your new attic ladder is almost as important as the ladder itself. A poorly chosen spot can make access difficult and even compromise your home’s structure.
- Accessibility and Swing Clearance: Imagine opening the ladder. Do you have enough clear space on the floor below for the ladder to fully extend and for you to stand comfortably at the bottom? Avoid areas where the ladder would obstruct hallways, doors, or furniture.
- Structural Considerations: This is where you need to be cautious.
- Locating Ceiling Joists: Your attic ladder needs to be securely fastened to structural framing. Use a stud finder or carefully drill small pilot holes to locate ceiling joists. Ideally, you’ll install the ladder between existing joists.
- Avoiding Obstructions: Before cutting, go into your attic (if possible) and look for hidden electrical wires, plumbing pipes, or HVAC ducts. Cutting into these can create major, costly problems.
- Understanding Roof Trusses: Most modern homes use roof trusses. Never cut a truss without consulting a structural engineer. Trusses are engineered systems, and cutting one can severely compromise your roof’s integrity. If your ideal spot involves a truss, get professional advice.
Gathering Your Tools and Materials
Having everything ready before you start will make the installation go much smoother. Here’s a checklist:
- Tools You’ll Need:
- Measuring tape, pencil, and a chalk line for accurate marking.
- A carpenter’s square to ensure your cuts are perfectly square.
- A circular saw, reciprocating saw, or jigsaw for cutting the ceiling opening.
- A drill/driver with various bits for pilot holes and securing screws.
- A hammer and pry bar for any demo work.
- A level to ensure your ladder frame is perfectly plumb and square.
- Safety glasses, gloves, and a dust mask for your protection.
- A sturdy stepladder for initial access and working in the attic.
- Shims for fine-tuning the ladder’s fit.
- Materials You’ll Need:
- Your new attic ladder kit.
- Lumber for framing (e.g., 2x6s or 2x8s for headers and blocking, chosen to match the depth of your existing ceiling joists).
- Heavy-duty wood screws or lag screws (check the ladder manufacturer’s recommendations for size and type).
- Joist hangers (if you need to cut an existing joist).
- Temporary support boards to hold the ladder in place during installation.
- Caulk or sealant to air-seal around the frame for energy efficiency.
- Trim or molding to finish the ceiling opening neatly.
Preparing the Opening
With your ladder chosen and your location pinpointed, it’s time to prepare the ceiling. This stage requires precision and a strong emphasis on safety. Always remember, if you’re uncomfortable at any point, consider consulting a professional.
Safety First!
Before you make any cuts, take a moment to ensure a safe work environment:
- Power Shut-Off: If there’s any chance you’re working near electrical wiring, err on the side of caution and turn off the power to that area at your circuit breaker. Use a non-contact voltage tester to confirm circuits are dead.
- Clear the Work Area: Remove any furniture or obstructions from directly below where you’ll be working. You’ll have falling debris, and you’ll need clear space for the ladder installation.
- Work with a Helper: Maneuvering a ladder frame into the attic opening is often a two-person job. A helper can provide support and ensure safety during this crucial step.
Locating and Marking the Opening
Accuracy here is vital for a snug and secure fit for your new attic ladder.
- From Below (Ceiling Side): Start by using a stud finder to locate the ceiling joists around your desired ladder location. You can also drill small pilot holes to confirm joist centers. Once you’ve found the joists, carefully mark out your rough opening dimensions based exactly on the specifications provided by your ladder’s manufacturer.
- From Above (Attic Side): For extra precision, it’s best to go into the attic. From there, you can clearly see the joists and double-check your measurements. Snap chalk lines on the ceiling material to create clear, visible cut lines for your opening. This ensures you cut precisely where needed.
Cutting the Ceiling Material
This is where your opening takes shape. Work slowly and carefully.
- Carefully Cut Drywall/Plaster: Using your chosen saw (circular, reciprocating, or jigsaw), make your cuts along the marked lines. If you’re using a circular saw, set the blade depth just enough to cut through the ceiling material and avoid cutting into anything above it.
- Support the Cut-Out Section: As you approach the end of your cuts, the piece of ceiling material you’re removing will become unsupported. Be prepared to catch it or have a helper hold it to prevent it from falling unexpectedly.
Framing the Rough Opening
This newly cut hole needs to be framed to support the attic ladder securely. This step will vary slightly depending on your joist situation:
- If Installing Between Existing Joists: If your rough opening fits neatly between two existing joists, you’ll mainly need to add perpendicular blocking (headers) at each end to complete your rectangular frame. Double up these blocks for extra strength.
- If Cutting a Joist: This is more involved and requires careful structural work.
- Temporarily Support the Joist: Before cutting, temporarily support the existing joist you plan to cut. Use sturdy lumber (e.g., 2x4s or 2x6s) propped from the subfloor or a sturdy support below, extending on either side of your cut line.
- Cut the Joist: Carefully cut the joist to the required length, ensuring your cut is straight and clean.
- Install Headers: Install new headers (often double up two pieces of lumber for increased strength) between the existing parallel joists to create the ends of your box frame. These headers will carry the load of the cut joist.
- Use Joist Hangers: Secure the cut ends of the joist to the new headers using metal joist hangers and appropriate nails or screws. This creates a strong, safe connection.
- Ensure the Frame is Square and Level: Use your carpenter’s square and level to make sure your newly framed opening is perfectly square and level. This is critical for the attic ladder to operate smoothly and safely.
Installing the Attic Ladder Unit
Now for the main event: getting that attic ladder securely into its new home. This step often requires an extra set of hands and careful attention to detail.
Positioning the Ladder
This is arguably the most critical and often the most challenging part of the entire attic ladder installation process.
- Crucial Step: Two People Required! You’ll definitely need a helper for this. One person should be in the attic, guiding the ladder frame from above, while the other supports and lifts from below.
- Carefully Lift and Lower: Gently lift the ladder frame and guide it into the newly framed opening from the attic side. Work together to maneuver it until it rests evenly within the opening.
- Use Temporary Support Boards: Once the ladder unit is roughly in place, use sturdy temporary support boards or clamps to hold the ladder’s frame securely to the ceiling joists or framing. This will keep it from falling through while you work on securing it permanently.
Securing the Ladder Frame
With the ladder unit in the opening, it’s time to make it permanent. This is where you ensure it’s square, level, and incredibly sturdy.
- Shim as Necessary: Your goal is for the ladder frame to be perfectly square and level, and for the trim of the ladder (or its frame) to be flush with your ceiling. Use shims (small wedges of wood) between the ladder frame and your newly constructed framing to achieve this precision. Check all sides with your level.
- Pre-Drill Pilot Holes: Before driving in the main securing screws, always pre-drill pilot holes. This prevents the wood from splitting and makes driving the screws much easier.
- Secure the Ladder Frame: Using the appropriate heavy-duty lag screws (often recommended by the ladder manufacturer), secure the ladder frame to your newly constructed framing. Drive screws through the pre-drilled holes, ensuring they go deep into the solid wood of your framing. You’ll typically find designated mounting points on the ladder’s frame for these screws.
- Do Not Remove Temporary Supports (Yet!): Keep those temporary support boards in place until after the ladder is fully secured with all its permanent screws. You want to ensure maximum stability during the fastening process.
Trimming the Ladder Legs (if applicable)
Many attic ladders come with legs that need to be cut to perfectly fit your specific ceiling height.
- Extend the Ladder Fully: Carefully unfold the ladder and extend it all the way to the floor. Make sure it’s fully locked into its open position.
- Measure Accurately: Following the manufacturer’s instructions, measure from the floor up to the designated cutting point on the bottom of the ladder rails. This measurement needs to be precise so the ladder rests firmly and evenly on the floor when in use.
- Mark and Carefully Cut: Mark your cut lines clearly on both legs. Use a saw to carefully cut the ladder legs to the correct length. For wood ladders, a miter saw or handsaw works well; for aluminum, you might need a fine-tooth blade.
- Attach the Ladder Feet or Shoes: Most ladders come with protective feet or shoes that attach to the newly cut ends of the legs. Install these according to the manufacturer’s instructions to protect your flooring and provide better grip.
Final Adjustments and Testing
Before you call the project done, a few final checks ensure smooth and safe operation.
- Remove Remaining Temporary Supports: Once the ladder is fully secured and the legs are trimmed, you can remove any remaining temporary support boards.
- Test the Ladder Operation: Open and close the ladder several times. Does it operate smoothly? Is there any binding or sticking? If so, re-check your shimming and frame squareness.
- Adjust Spring Tension: Many attic ladders have adjustable spring mechanisms that control how easily the ladder opens and closes. Adjust the tension as recommended by the manufacturer until the ladder feels balanced and easy to operate.
- Ensure it Rests Firmly: When fully extended, the ladder should rest firmly and evenly on the floor, without wobbling or gaps under the feet.
Finishing Touches
With your attic ladder securely installed and operating smoothly, you’re almost done! These final steps focus on aesthetics and maximizing your home’s energy efficiency.
Sealing and Insulation
An attic opening is a direct gateway for air to move between your conditioned living space and the unconditioned attic. Proper sealing and insulation can significantly impact your home’s energy bills.
- Caulk for an Airtight Seal: Once the ladder frame is fully secured, run a continuous bead of caulk around the perimeter where the ladder frame meets your ceiling joists or framing. This creates an airtight seal, preventing drafts and reducing heat loss or gain.
- Consider an Insulated Cover: For even greater energy efficiency, consider adding an insulated attic ladder cover. These simple covers sit over the attic opening in the attic itself, creating an insulated barrier that dramatically reduces thermal transfer. They’re a smart investment for long-term energy savings.
Adding Trim and Molding
Now it’s time to make your new attic ladder look like it’s always been there.
- Install Decorative Casing or Trim: Cut and install decorative casing or trim around the ceiling opening. This hides any gaps between the ladder frame and the drywall, giving the installation a clean, finished appearance. Measure and cut carefully to ensure mitered corners fit snugly.
- Paint or Stain to Match: Once the trim is installed, paint or stain it to match your existing ceiling, trim, or decor. This integrates the ladder seamlessly into your home’s interior.
Post-Installation Maintenance
To ensure your attic ladder remains safe and functional for years to come, a little routine maintenance goes a long way.
- Regularly Check Fasteners: Periodically open the ladder and check all screws and bolts for tightness, especially those securing the frame to the joists and the ladder’s hinge points. Vibrations from use can sometimes loosen fasteners over time.
- Lubricate Moving Parts: As recommended by the manufacturer, apply a light lubricant to hinges, springs, and other moving metal parts. This keeps the ladder operating smoothly and prevents squeaks or stiffness.
- Inspect for Wear and Tear: Take a moment to visually inspect the ladder for any signs of wear, such as cracked wood, bent metal, or frayed ropes (if applicable). Address any issues promptly to prevent further damage or safety concerns.
Conclusion
Congratulations! You’ve successfully completed your attic ladder installation and transformed that once-inaccessible or inconvenient space into a functional part of your home. This project, while requiring careful planning and execution, offers significant rewards.
By following these step-by-step instructions, you’ve not only gained safe and easy access to your attic but also unlocked valuable storage space, making your home more organized and efficient. Beyond the immediate benefits of increased storage and convenience, a properly installed attic ladder can also add to your home’s overall value.
So, take pride in your accomplishment. Your attic is no longer just a dark, dusty void—it’s now an easily reachable extension of your living space, ready to serve your needs for years to come!


Leave a Reply