Welcome to our DIY Hummingbird Food guide, where we’ll unveil the art of crafting irresistible hummingbird nectar from scratch. Whether you’re a seasoned birder or just starting, this simple DIY endeavor will not only attract these enchanting birds but also infuse your outdoor space with natural wonder. Join us as we explore the world of hummingbirds and learn to create homemade hummingbird food that will make your garden come alive with their vibrant presence. Let’s get started on this journey of discovery and connection with these aerial wonders.
DIY Hummingbird Food Ingredients
Creating the perfect DIY hummingbird food involves choosing the right ingredients to provide essential nutrients while ensuring their safety. Here, we’ll explore the key ingredients needed for crafting your own homemade hummingbird nectar.
Sugar – The essential sweetener
- Granulated White Sugar: The primary ingredient for hummingbird food is plain, granulated white sugar. Avoid using brown sugar, honey, or artificial sweeteners, as they can be harmful to hummingbirds.
- Why Sugar: Sugar provides the necessary energy hummingbirds require for their rapid metabolism. It closely mimics the natural sucrose found in flower nectar.
- Sugar-to-Water Ratio: A standard sugar-to-water ratio for hummingbird nectar is 1 part sugar to 4 parts water. This ratio provides the right sweetness without overloading them with sugar.
Water – The diluent
- Fresh, Clean Water: Use clean, fresh water to create the nectar. Avoid using tap water with chlorine or fluoride, as these chemicals can be harmful to hummingbirds.
- Boiling Water: Some bird enthusiasts prefer to use boiled water to ensure it’s free from impurities. Allow it to cool before mixing it with sugar.
Safety considerations
- No Red Dye: Never use red food dye in your hummingbird food. The red color of the feeder is sufficient to attract hummingbirds, and red dye can be harmful to them.
- Avoid Artificial Sweeteners: Artificial sweeteners like aspartame and saccharin are toxic to hummingbirds. Stick to plain white sugar.
- Cleanliness: Ensure your feeder and mixing utensils are thoroughly cleaned to prevent mold and bacteria growth, which can harm the birds.
Step-by-Step DIY Hummingbird Food Recipe
Crafting homemade hummingbird nectar is a simple process that involves just a few easy steps. Follow this step-by-step guide to create a delectable nectar that will entice hummingbirds to your garden.
Ingredients
Use a 4 part water to 1 part sugar ratio. An example is the following and may need to be adjusted depending on the size of your feeder or store excess for refilling.
Hummingbird Nectar Recipe:
- 1 cup of granulated white sugar
- 4 cups of clean, fresh water
Pro Tip: My feeders is pretty small so I use 1/4 cup sugar and 1 cup water
Making Hummingbird Food Instructions
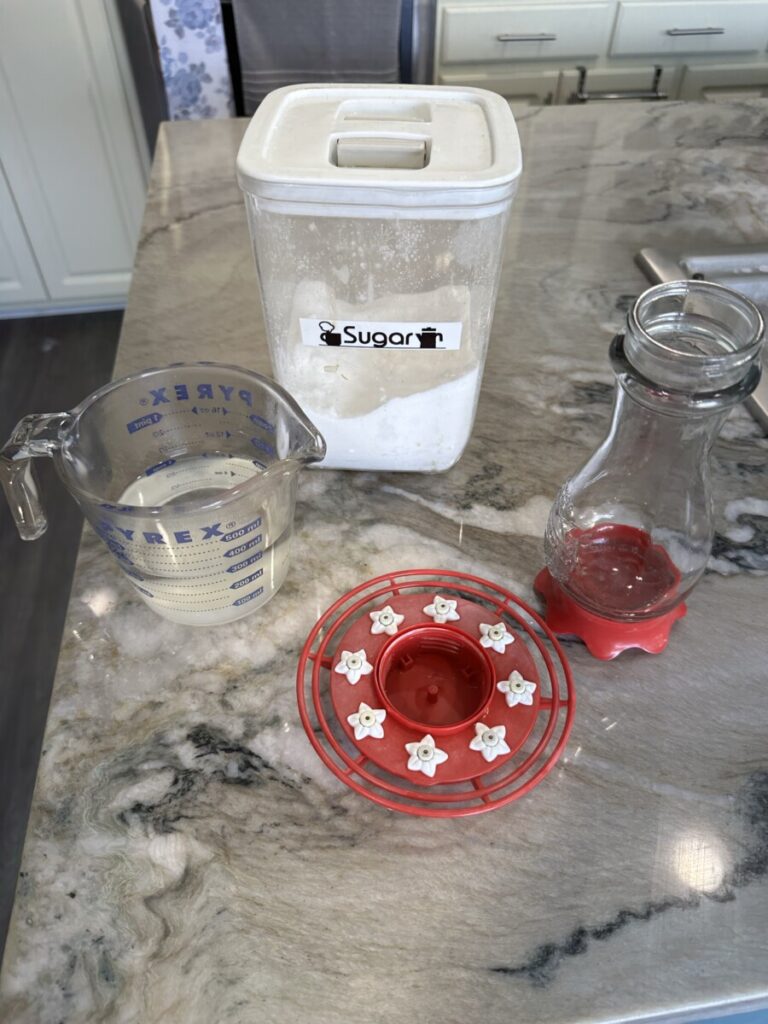
Step 1: Gather Your Supplies
- Assemble your ingredients: granulated white sugar and clean water.
- Ensure you have a clean container for mixing and storing the nectar, such as a glass or plastic jug.
Step 2: Boil Water (Optional)
- If you prefer to use boiled water, bring the water to a boil.
- You may need to let it cool a bit before mixing in sugar.
Step 3: Measure Sugar
- Measure one cup of granulated white sugar.
Step 4: Mix Sugar and Water
- In your clean container, combine the measured sugar with the water.
- Stir the mixture until the sugar completely dissolves. This will create a clear, sweet nectar.
Step 5: Cool the Nectar
- Allow the nectar to cool to room temperature. It’s important not to use hot nectar in your hummingbird feeder, as it can be harmful to the birds.
- To speed up this process you can put nectar in fridge or freezer, just make sure you do not keep it in the freezer too long.
Step 6: Fill Your Feeder
- Carefully pour the homemade hummingbird nectar into your clean hummingbird feeder.
- Be sure not to overfill the feeder to prevent spillage.
Step 7: Hang Your Feeder
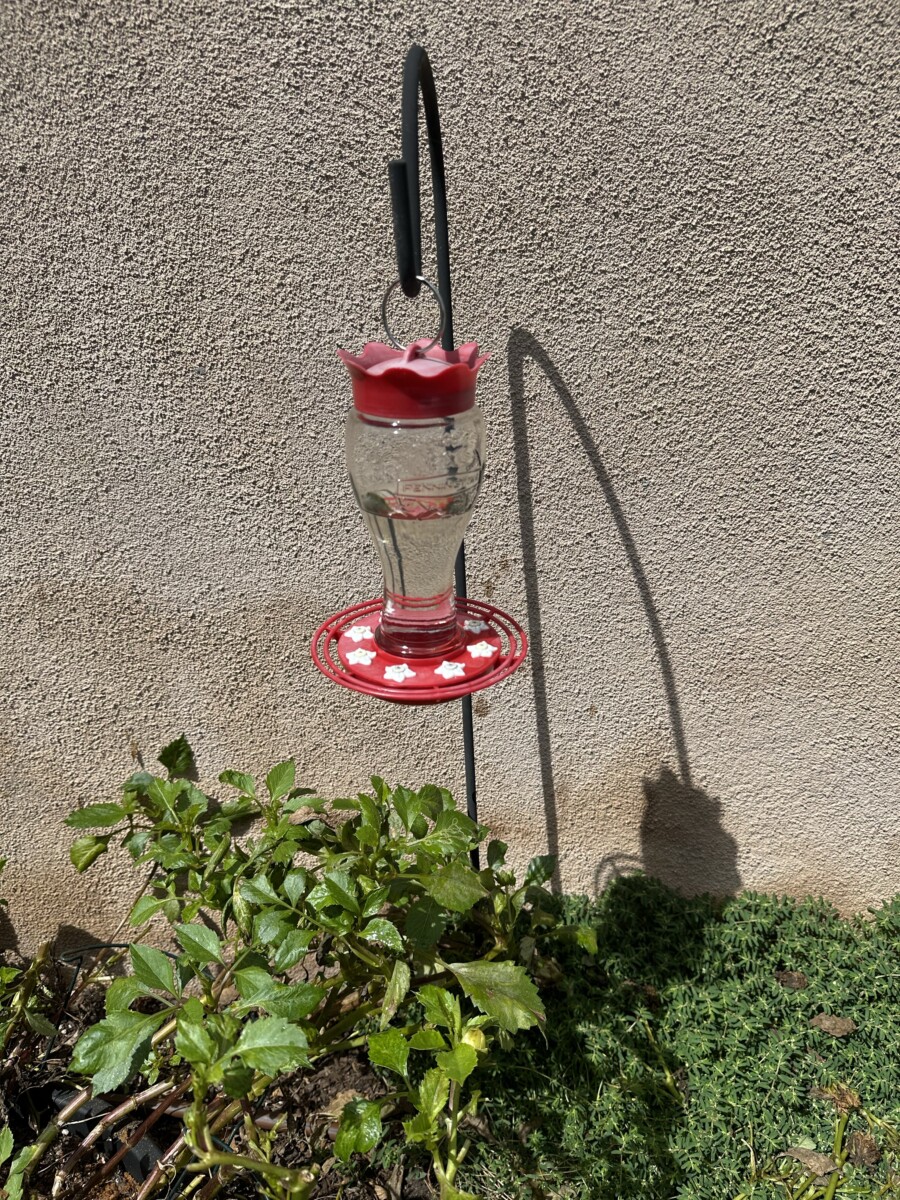
- Choose an appropriate location to hang your hummingbird feeder. Ideally, it should be in a shady spot to prevent the nectar from spoiling too quickly.
- Make sure the feeder is easily accessible for the birds, but also safe from predators.
Step 8: Monitor and Maintain
- Regularly check your hummingbird feeder to ensure it remains clean and full.
- Clean the feeder and replace the nectar every 3-4 days, or sooner if the nectar appears cloudy or moldy.
- Keep the feeder free from debris, and clean it with warm, soapy water during each refill. I even take mine apart and run it through the dishwasher.
Conclusion
Creating your own DIY hummingbird food and cultivating a hummingbird-friendly garden is a gratifying journey that allows you to connect with the wonders of nature in your very own backyard. Hummingbirds, with their dazzling colors and acrobatic flights, can transform your outdoor space into a haven of beauty and fascination.
As you’ve discovered in this guide, attracting and caring for these tiny jewels is a rewarding endeavor. By following the steps outlined in this blog you can create an environment that not only lures hummingbirds but also nourishes and sustains them.
So, whether you’re an avid birdwatcher or simply someone who appreciates the beauty of the natural world, the journey of inviting hummingbirds into your garden is a remarkable one. Witnessing these miniature miracles in action, from their graceful sips of nectar to their dazzling aerial displays, offers a profound connection to the magic of the avian world.




Leave a Reply