

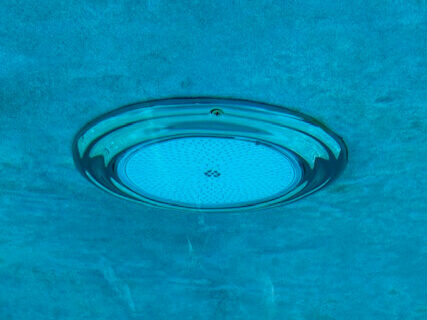
My swimming pool is my favorite part of the backyard, but for years, the lights were a constant source of frustration. The original fixtures were old, and no matter what I did, they kept taking on water. I tried everything—replacing the gaskets, even swapping out the glass—but the fixes were only temporary. The lights would work for a few weeks, then flicker out again. I was tired of the hassle and knew it was time for a permanent DIY pool light upgrade.
That’s when I decided to completely overhaul the system. I wanted something reliable, energy-efficient, and, most importantly, much safer. I made the switch from a risky 120V system to a low-voltage 12V LED setup. Not only did this upgrade solve the persistent water problem, but it also transformed my pool into a vibrant, multi-color oasis. I chose the PoolTone Solid State 16 Color LED Pool Lights from Florida Sunseeker, and their customer service was a huge help in guiding me through the process.
This post will walk you through my entire project, from planning and preparation to the final installation. If you’re dealing with leaky, old, or unreliable pool lights, this guide will show you how to swap them out for a modern, safe, and stunning LED system.
Planning and Preparation
Before you even think about buying a new light, you need to do some homework. The single most important step in this entire project is determining the correct cord length. Pool light cords come in standard lengths like 15, 50, 100, and 150 feet. Getting this wrong means you’ll either have a cord that’s too short or a lot of expensive wire left over.
First, you’ll need to turn off the power at the breaker. Don’t skip this step. Once the power is confirmed off, you can safely remove your old light. Simply unscrew the fixture from the niche in the pool wall and pull the entire assembly out, including the cord.
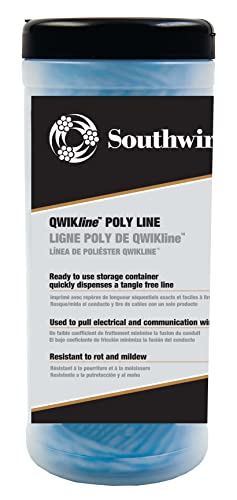
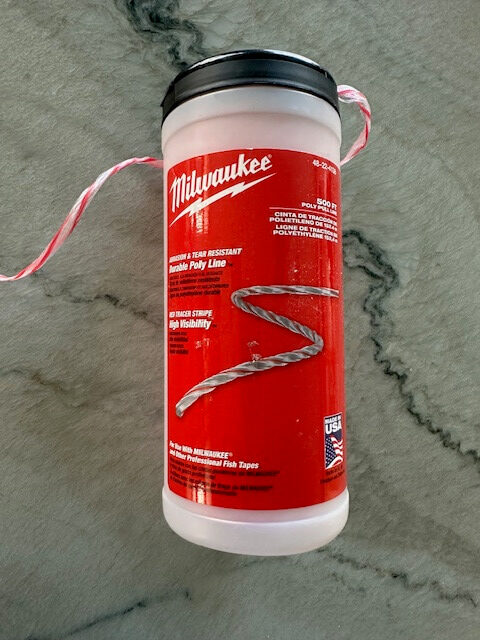
After you’ve pulled the cord all the way out, you can measure it. This measurement will tell you exactly what length you need for your new lights. To make things easier for the next step, I took a piece of poly line and securely attached it to the end of the old light’s cord using electrical tape. This is a crucial trick—it allows you to use the old cord to pull the poly line through the conduit as you remove it. The poly line will act as a “pull cord” to guide your new light’s cord through the same path, saving you a huge headache.
Tools and Parts You’ll Need
This project requires a few key items to ensure a safe and successful outcome. Before you start, gather everything on this list.
Tools:
- Phillips and Flathead Screwdrivers: To remove the old light fixture from its niche and the screws on the junction box or transformer housing.
- Voltage Tester / Multimeter: This is a non-negotiable safety tool. You must use it to confirm the power is completely off at the light fixture before you touch any wires.
- Wire Strippers: To cleanly strip the insulation from the old and new wires for a proper connection.
- Twine or Strong Cord: The key to the “pull cord” trick. A simple, strong cord or even a length of string will work to help you pull the new wire through the conduit. I recommend strong poly line.
- Electrical Tape: For securing the twine to the old cord.
- Towels or Soft Cloth: To protect your pool’s surface from scratches while you work on the light fixture.
Parts:
- New LED Pool Light: I went with the PoolTone Solid State 16 Color LED Pool Light from Florida Sunseeker, which came with the pre-attached cord. Be sure to order the correct length (e.g., 50ft, 100ft) based on your measurements.
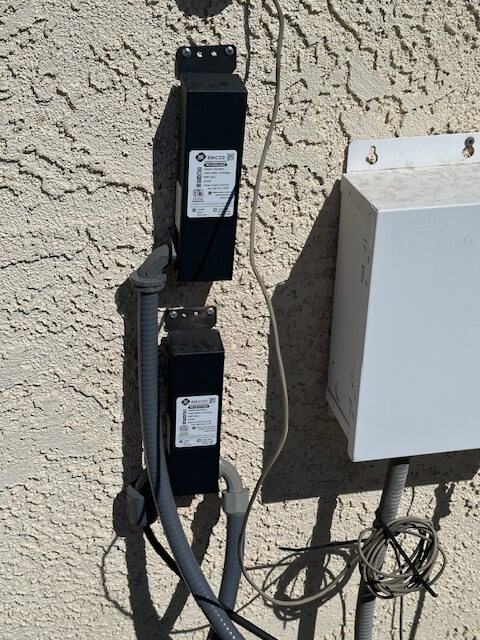
- Pool Light Transformer: If you’re converting from a 120V to a 12V system, you’ll need a new transformer. Make sure to get one with an appropriate wattage rating for your new LED light(s). For a single light, a 50-watt transformer is often sufficient, but always check the specifications. The pool lights I ordered came with a EMCOD ML50S12AC Transformer that can handle 50 watts and the pool light was only 35 watts.
- Anderson BT15 Leakmaster Butyl Tape: Used to plug gap in pool light fixture where cord enters conduit.
- Waterproof Wire Connectors: These are essential for making secure, waterproof connections between the new light’s wire and the existing wiring. Look for gel-filled or heat-shrink connectors designed for wet or damp locations.
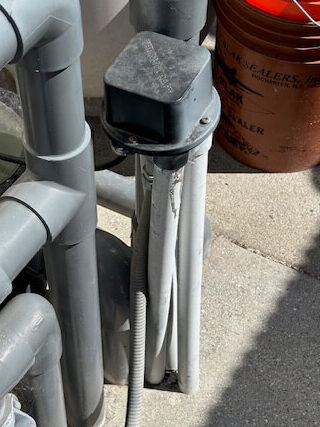
- Flexible Non-Metallic PVC Conduit Whip: For running wires from transformers to breaker box and junction box for lights.

The Installation Process
With your new lights and transformer in hand, it’s time for the installation. Remember to always double-check that the breaker is off before starting any electrical work.
Step 1: Draining the Pool (Optional)
Before you can install the new light, you need to lower your pool’s water level so it’s below the light fixture’s niche. Use your pool’s drain function or a submersible pump to get the water to a manageable level.
I managed to replace the lights without draining the pool. I did need to wait until the pool temperature was warm enough to not totally freeze myself. It can be a bit tiring trying to tread water while working to remove/install the lights.
Step 2: The Pull Cord
This is where the poly line you attached earlier comes in handy. As you pull the old light’s cord out of the conduit, the poly line will be pulled through with it. Once the old light and cord are fully removed, you’ll have the poly line ready to go, acting as your guide for the new wire.
DIY Pro Tip: To attach the poly cord to the old pool light cord, bend one of the wires over to create a loop and then wrap electrical tape around the wires to make sure the loop stays in place. Tie the poly cord to this loop with a few knots. Just make sure that the electrical tape and knots do not widen the cord to much as it needs to be able to be pulled through the conduit.
Step 3: Installing the New Transformer
If you’re converting from a 120V system to a 12V system like I did, you’ll need to install the new transformer. I found a safe, dry location near the power source. Connect the 120V power supply wires to the transformer’s input terminals. This step is critical, so be sure to follow the manufacturer’s instructions exactly.
Step 4: Pulling the New Wire
Now, you’ll use the poly line to pull the new light’s cord through the conduit. Securely tape the end of the new wire to the poly line. Then, from the transformer’s side, gently pull the poly line. The poly line will guide the new light’s cord smoothly through the conduit and into the niche.
This step will require two people, one to feed the cord through the light fixture at the pool and the other to pull the cord through the conduit.
DIY Pro Tip: If you are having problems pulling the cord through the conduit you can add a little dish soap to the conduit to act as a lubricant.
Step 5: Wiring and Sealing
With the new cord in place, it’s time to make the connections. Wire the new light’s cord to the 12V output terminals on the transformer. For this, I used waterproof connectors to ensure a tight, sealed connection. This is one of the most important steps to prevent future water intrusion.
Step 6: Reinstalling the Light
Once the connections are made and sealed, carefully coil the excess wire back into the niche. Push a ball of butyl tape in the gap in the light fixture where the cord enters the conduit to prevent water from possibly leaking out via the conduit. Then, secure the new light fixture to the niche using the provided screws. Make sure it is seated firmly and correctly.
After these steps are complete, you can refill your pool, turn the breaker back on, and get ready for the grand reveal.
The Final Reveal: A Before & After
With the installation complete, it was time for the moment of truth. I refilled the pool, flipped the breaker back on, and my new lights immediately came to life. The difference was night and day.
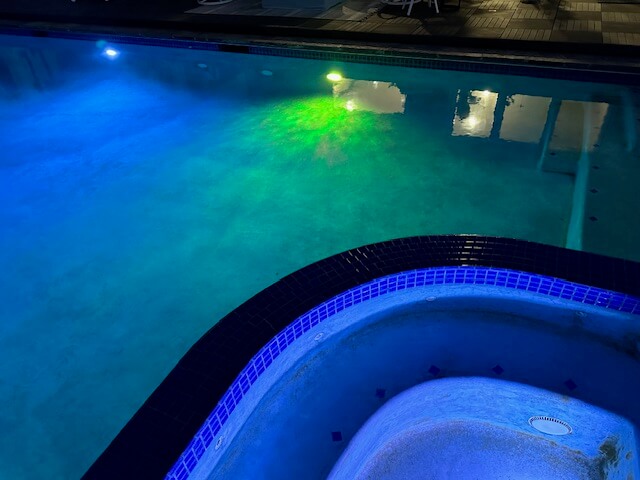
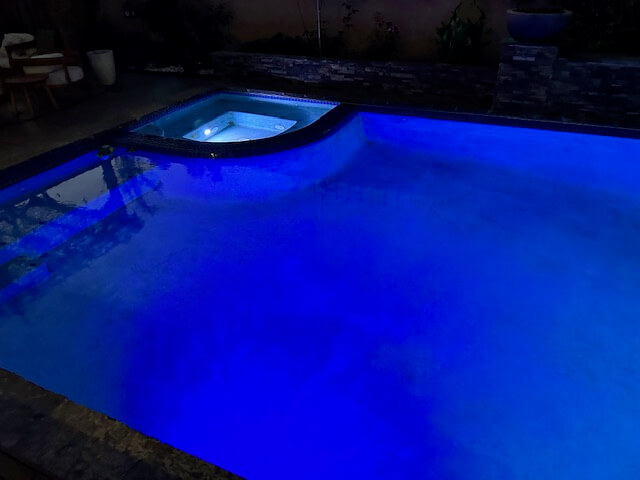
The “before” was a constant reminder of a nagging problem—a single, dim, and often dead light. The “after,” however, was a stunning visual transformation. The new PoolTone lights from Florida Sunseeker offered 16 different colors and a variety of light shows, allowing me to completely change the mood of the pool at the push of a button.
This DIY pool light upgrade was a complete success. The switch to a low-voltage 12V system not only gave me peace of mind about safety but also provided a vibrant, energy-efficient, and long-lasting lighting solution. Best of all, I’ve solved the problem of leaky fixtures for good. This was a challenging project, but the result was absolutely worth the effort.
Conclusion & Final Thoughts
If you’re dealing with old, leaky, or inefficient pool lights, I highly recommend tackling a similar LED upgrade. With a little planning and the right parts, you can turn a frustrating problem into a beautiful and lasting improvement for your pool.


Leave a Reply