
Cleaning out a long dryer vent duct system might not be at the top of your home maintenance checklist, but it’s an essential task that can save you money, improve your dryer’s efficiency, and, most importantly, prevent potential fire hazards. Over time, lint and debris accumulate in the ductwork, creating blockages that not only reduce your dryer’s performance but also pose significant safety risks. In this comprehensive guide, we’ll walk you through the step-by-step process of thoroughly cleaning a long dryer vent duct system.
Tools Required
The following is the list of tools required:
- Dryer Vent Cleaning System (ex. LintEater)
- Drill
- Trash Can
- Cordless Leaf Blower
- Pliers (Optional)
- Vacuum Cleaner (Optional)
Procedure
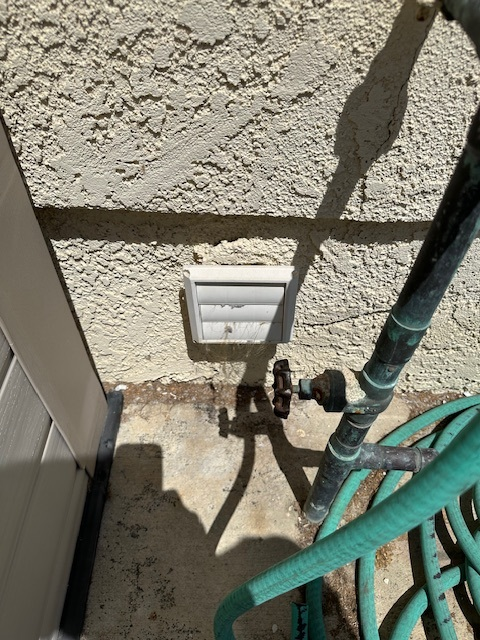
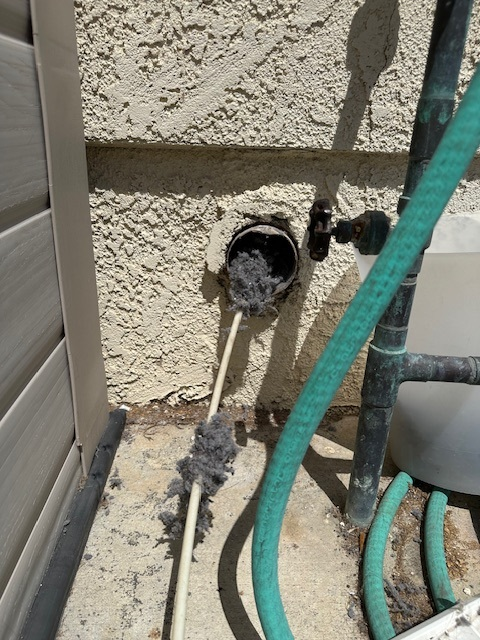
Step 1: Remove Outside Vent Cover
The method for doing this may vary based on the type of vent used at your house. Luckily mine just pulls off and isn’t attached with any hardware. It is super easy for me to remove.
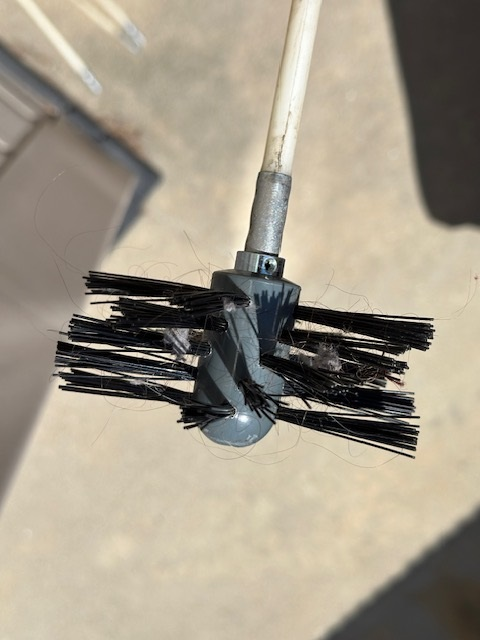
Step 2: Put Together Dryer Vent Cleaning Tool
You most likely will need to put together your dryer vent cleaning tool. There should be some sort of brush that you will attach to one of the rods.
One of the rods will have an end that doesn’t have any threads. This is the end that can be connected to a drill.
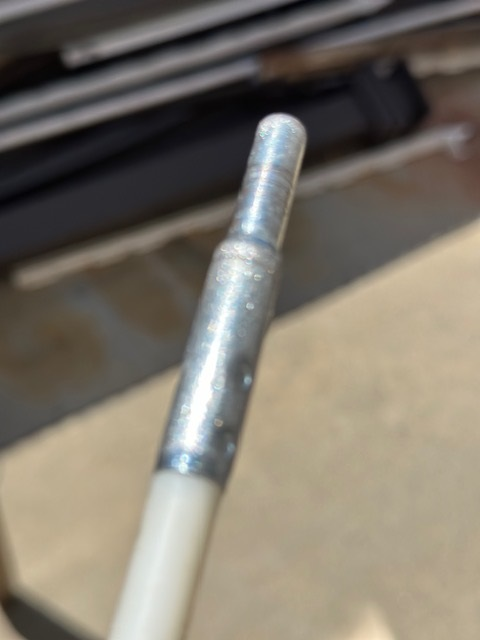
You can then attach the rod with the non-threaded end to a cordless drill.
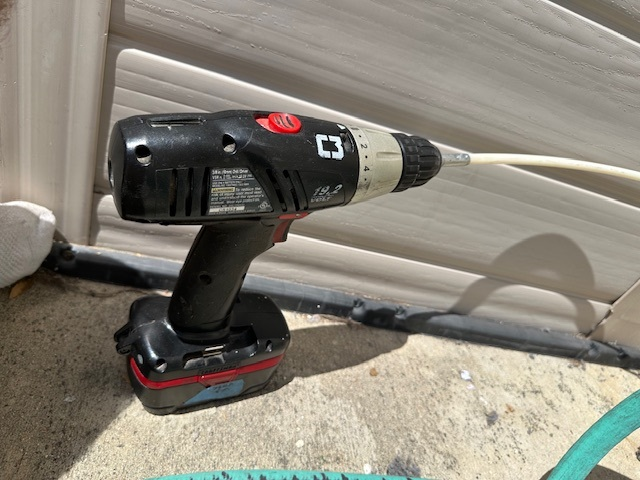
Step 3: Use Dryer Vent Cleaning Tool to remove Lint
The method I used to clean out my long dryer vent duct was to start off with a few of the rods connected and gradually add more. I would first just manually insert the rods into the duct and turn clockwise and pull the rods and hopefully lint out of the duct. I would do this a few times and then add another rod. For my system I needed 8 rods (each one is about 3 feet long). Once I had all connected I then would connect a drill to the last one and then fish the rods into the duct and use the drill to turn clockwise. Once fully inserted, I would then keep turning the drill clockwise and pull out the rods. I repeated this multiple times until barely any lint was being removed.
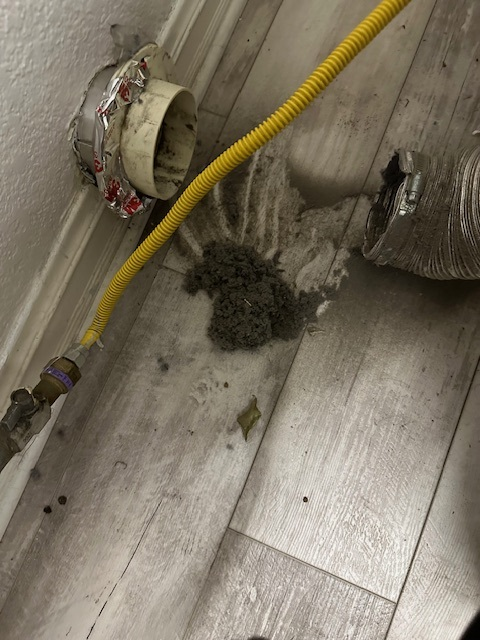
Step 4: Clean Up Any Debris Inside by Dryer
If you moved your dryer out of the way and disconnected it from the vent duct inside the house, you should check to see if any debris was pushed inside.
I had a little pile of lint that made it inside that I was able to vacuum up with a vacuum cleaner.
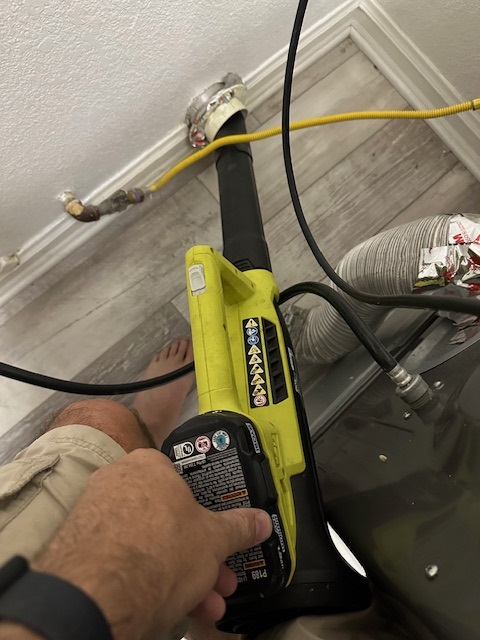
Step 5: Use Leaf Blower to Blow Air from Inside
If you moved your dryer out of the way and have access to the vent inside the house, it would be good to use a cordless leaf blower to blow out any left over lint that you did not remove with the vent cleaning tool.
Step 6: Clean Up and Record Date
The last step is to clean up any lint and put your tools away.
PRO TIP: I keep a note on the box for my LintEater tool to record the dates I cleaned out my dryer vent duct system. This way you can easily check if your long dryer vent duct system is due for a cleaning.
Summary
Cleaning out your long dryer vent duct system is really an easy process. It is a good idea to perform these steps every 6 – 12 months as this will help with the performance of your dryer and also keep your house safe and help reduce the risk of fire.


Leave a Reply