

Welcome to our comprehensive guide on installing an RV cabinet door knife holder! If you’ve ever embarked on a road trip or RV adventure, you know that efficient use of space is key to a comfortable journey. One often-overlooked area in your RV is the kitchen, where every inch counts. That’s where an RV cabinet door knife holder comes to the rescue. This space-saving solution not only keeps your kitchen organized but also adds a touch of convenience to your culinary adventures on the road. In this step-by-step guide, we’ll walk you through the process of installing your very own RV cabinet door knife holder, making your mobile kitchen safer, more efficient, and better organized. So, let’s get started on this exciting RV kitchen upgrade!
Tools and materials
Before you dive into the installation process, it’s essential to gather all the necessary tools and materials to ensure a smooth and efficient installation. You will also need to determine what method of installation works best for your situation. You can either mount the holder with double sided tape or with screws.
Here’s a list of what you’ll need:
Tools:
- Measuring Tape: Accurate measurements are crucial for proper placement.
- Pencil or Marker: Used for marking drill hole locations and guidelines.
- Level: Ensures that your knife holder will be straight and balanced.
- Drill (if needed): A power drill with the appropriate drill bits for your cabinet material.
- Screwdriver (if needed): Phillips or flat-head, depending on the screws provided.
- Safety Gear: Safety glasses and gloves to protect your eyes and hands during drilling and installation.
- Scissors (if needed): Useful if you are using mounting tape method.
Materials:
- RV Cabinet Door Knife Holder Kit: Purchase a quality knife holder kit designed for RVs, which typically includes the holder itself and necessary mounting hardware.
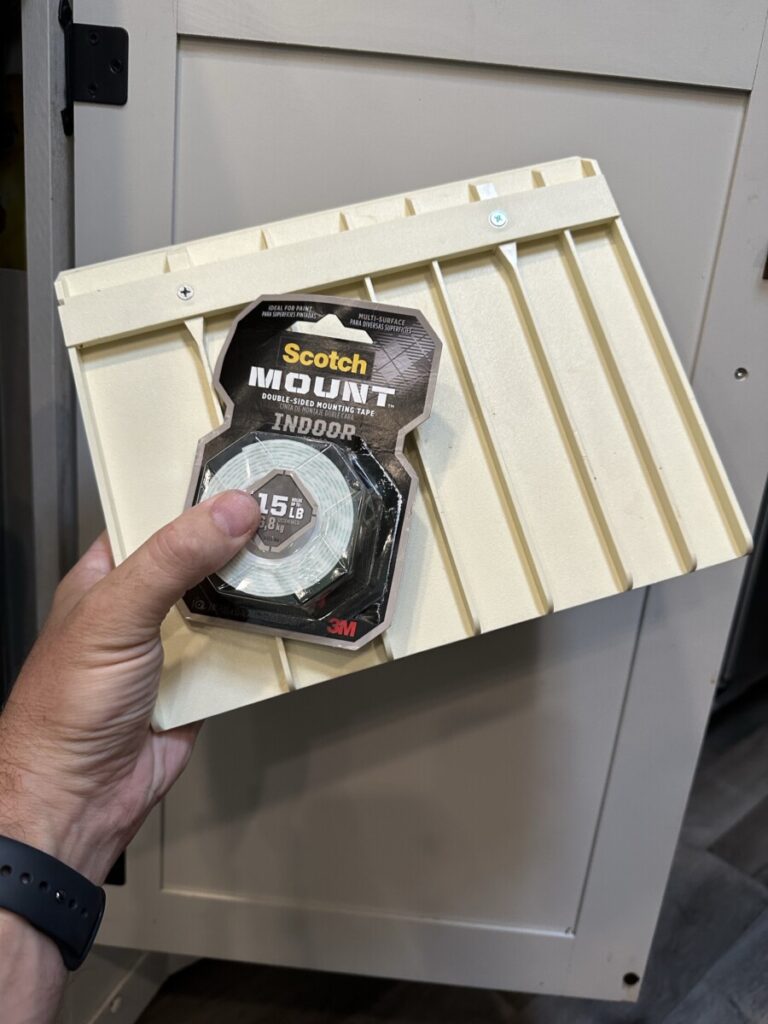
- Double Sided Mounting Tap (if needed): Used to mount holder in place of using screws.
- Screws (if needed): Check the kit for screws, but have extras on hand in case they are not included or if you prefer to use different ones.
- Wall Anchors (if needed): Depending on your cabinet material, you may require wall anchors for added stability.
- Screw Covers (optional): These can provide a polished and finished look to your installation.
Pre-installation preparation
Before you begin installing your RV cabinet door knife holder, it’s essential to prepare adequately. This pre-installation phase will help ensure a successful and hassle-free installation process.
Safety precautions
- Safety Gear: Start by donning your safety gear, including safety glasses and gloves. These will protect your eyes and hands during the installation, especially while handling tools and materials.
- Read the Instructions: Carefully review the manufacturer’s instructions that come with your RV cabinet door knife holder kit. Understanding the guidelines and any safety recommendations is crucial.
- Power Source: Ensure your power drill has a fully charged battery or access to a power source. A reliable drill is essential for creating precise holes.
Measurement and planning
- Measure Twice: The old adage “measure twice, cut once” applies here. Use your measuring tape to measure the available space on the cabinet door where you intend to install the knife holder. Double-check these measurements to ensure accuracy.
- Placement Considerations: Consider where the knife holder will be most convenient for your needs. It should be easily accessible and free from any obstructions when you open and close the cabinet door. Also make sure you have plenty of room for the knife handles and do not mount too close to the top of the cabinet door. Check to make sure there is nothing in the way like shelves when you close the door.
- Marking Guidelines: Use a pencil or marker to mark the positions for the drill holes based on your measurements and placement considerations. Ensure that your marks are level and symmetrical if you’re installing multiple knife holders.
- Door Preparation: If the door is dirty or if there was a previous knife holder mounted with double sided tape you may need to do a little cleanup and remove any old tape residue. A product like Goo Gone works great to remove old tape residue.
Installation
With your pre-installation preparations complete, it’s time to dive into the step-by-step installation process of your RV cabinet door knife holder. Follow these instructions carefully to ensure a secure and functional installation.
A. Removing Cabinet Contents
Before you begin drilling and attaching the knife holder, it’s wise to empty the cabinet, especially if you’re working with a cabinet that stores utensils or kitchen items. This will give you better access and prevent any accidents or damage to your belongings during the installation process.
B. Mounting the Knife Holder
Now, let’s move on to the actual installation steps. The mounting process typically involves three main phases:
1. Marking Drill Holes (Screw method):
- Using the pencil or marker, transfer the hole positions you marked during the pre-installation phase to the cabinet door.
- Ensure that the marks are level and symmetrical for a balanced look.
2. Drilling Holes (Screw method):
- Select the appropriate drill bit based on the instructions provided by the manufacturer.
- Carefully drill holes at the marked positions on the cabinet door.
- Apply steady, even pressure and avoid over-tightening the drill.
3. Apply Double Sided Tape
- Apply the tape to the top and bottom of the holder.
- Make sure it is in a location on the holder where it will come into contact with the door
- Remove tape backing that will go against cabinet door
4. Attaching the Holder:
- Follow the manufacturer’s instructions for attaching the knife holder to the cabinet door.
- Typically, this involves using screws provided in the kit or using double sided mounting tape.
- Ensure the holder is securely fastened to the cabinet door, and the screws are tightened adequately or that you have pressed firmly against the holder to ensure the tape has properly attached to the door.
- If using mounting tape, allow for it to sit in place for 12-24 hours before loading your knives into the holder.
C. Testing and Adjustments
Once the knife holder is attached, it’s essential to perform a few tests to ensure everything is secure:
- Gently tug on the knife holder to check for stability. It should not wobble or feel loose.
- Test the holder’s weight-bearing capacity by inserting your knives one by one. Ensure it can support the weight without any issues.
If you notice any instability or concerns during these tests, don’t hesitate to make adjustments as necessary. It’s crucial that your RV cabinet door knife holder is firmly in place to guarantee safety while on the road.
Conclusion
Congratulations on completing our RV cabinet door knife holder installation guide! Your RV kitchen is now more organized, efficient, and safer. Enjoy the convenience of easy-access knives on your adventures. Prioritize safety, refer to manufacturer instructions, and feel free to ask any questions. Happy cooking and safe travels!


Leave a Reply