

Is your old Jandy Stealth pool pump making strange noises, or has it completely seized up? You’re in the right place. Our waterfall feature stopped working after our pump motor gave out, and after checking into replacement costs, I decided to tackle the job myself. This step-by-step guide walks you through a complete Jandy Stealth motor replacement, showing you how I swapped out my old single-speed motor for a new, energy-efficient variable-speed model.
Beyond just the motor, I’ll also show you which other parts you might need to replace, like the impeller, diffuser, and backplate, to ensure your pump is running smoothly. By the time you’re done, you’ll have a fully functioning pump and the satisfaction of having fixed it yourself, all while saving a significant amount on installation costs and your future energy bills. Let’s dive in.
Why I Replaced My Pool Pump Motor
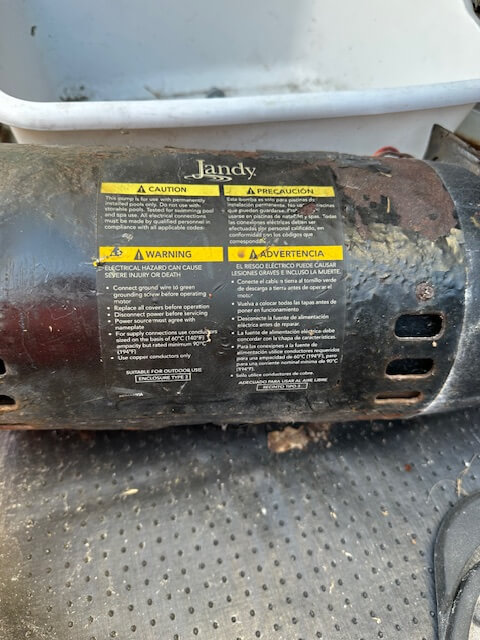
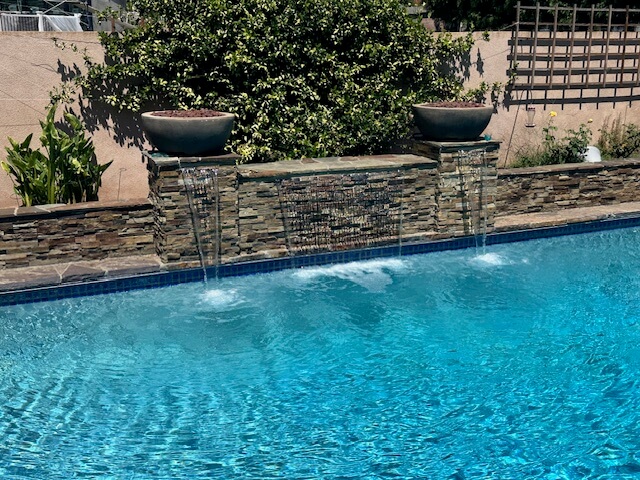
Our family’s pool pump has been a reliable workhorse for years, especially with its key role in powering our backyard pool waterfall. However, it totally stopped working due to seizing up completely. The pump, a Jandy Stealth Model #SHPF2.0CP with a serial number of L07FE0146, was pushing 15 years old, and after some quick research, it was clear that the motor was the culprit.
Initially, I considered replacing the entire pump, but it was much more cost-effective to just replace the motor itself, especially since the pump housing was still in good shape. To replace the entire pump would have required adjustments into the pipes that connected to the pump which was a much larger project.
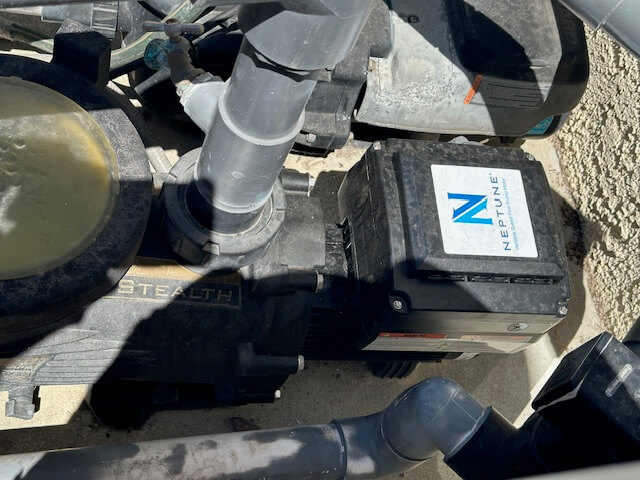
Living in California, I also had to contend with new regulations. State law now requires that all new or replacement pool pumps must be variable speed to meet new energy efficiency standards. This meant that the only option was to upgrade from a single-speed to a variable-speed motor. The new motor I chose was the US/Nidec Neptune Variable Speed Motor 2.70 THP Square Flange (NPTQ270)—a perfect match that would not only fix the problem but also drastically cut down on our monthly electricity bill.

The Parts and Tools You’ll Need
Before you get started, it’s a good idea to gather all the necessary parts and tools. This ensures you won’t have to make an emergency run to the hardware store in the middle of the project.
Here’s a complete list of the parts I used for this specific replacement:
- New Motor: US/Nidec Neptune Variable Speed Motor 2.70 THP Square Flange (NPTQ270)
- Impeller: I opted for a new impeller to ensure maximum efficiency with the new motor. The part number I went with was R0807200.
- Diffuser and O-ring: My old diffuser was a bit brittle and the o-ring was worn, so replacing them was a must to prevent leaks. The part number I went with was R0445400.
- Backplate: This was an unexpected find—a piece of the old backplate that holds the bolt for the diffuser had come apart, so a new one was essential. The part number I went with was R0445200. It came with two different seals depending on the motor/shaft used and one of them worked for my setup.
- Wiring Elbow: A new elbow was needed to safely connect the wiring to the new motor. You can pick this up at your local hardware store.
- LubeTube: Lube for your new o-rings.


As for tools, here are the basics you’ll want to have on hand:
- Wrench set or socket wrench set
- Screwdriver set (flathead and Phillips)
- Pliers
- Wire cutters/strippers
- A bucket or shop towel to catch any leftover water
- Safety glasses
- Safety gloves
Step-by-Step Replacement Guide
This is the most important part of the process. Take your time, stay organized, and remember that safety comes first.
Step 1: Safety First
Before you touch anything, you must turn off all power to the pool pump at the breaker box. Do not skip this step. Once the power is off, you can also use a voltage tester on the wiring to be absolutely sure there’s no live current.
In my setup I have a separate breaker box for the pool equipment, so I turned off the breakers here as well as at the main breaker box.
Step 2: Disconnect the Old Motor
Once the power is off, you can start by disconnecting the motor from the pump.
- Use a wrench to remove the bolts holding the backplate to the pump. There should be eight bolts.
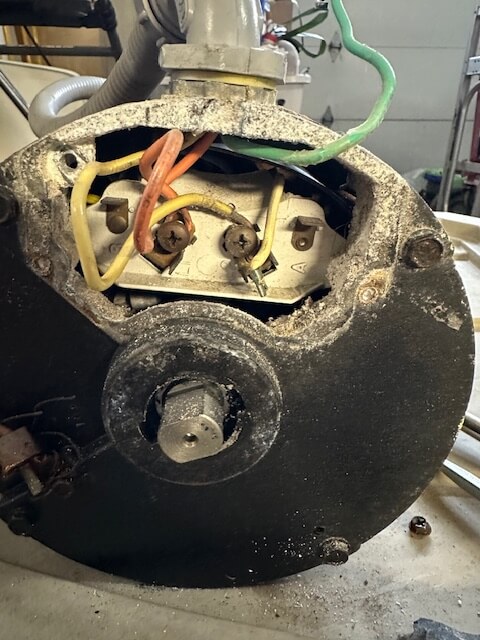
- Next, you’ll need to disconnect the wiring. Unscrew the cover on the motor’s terminal box, take a photo of the wiring configuration for reference, and then use your wire cutters to snip the electrical lines.
- Carefully pull the motor away from the pump housing and set it aside. You might notice some water spill out—this is normal.
Step 3: Remove the Old Impeller and Seal
With the motor removed, you’ll have full access to the diffuser, backplate, impeller and seal.
- First you will need to remove the diffuser from the backplate to get access to the impeller.
- The impeller is screwed onto the motor shaft. To remove it, you’ll need to hold the motor shaft still from the back while unscrewing the impeller from the front. You can use a wrench to hold the shaft from the back.
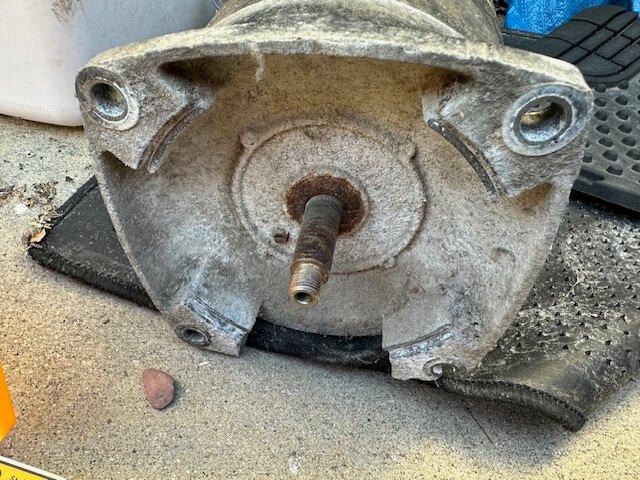
- Once the impeller is off, you can remove the backplate and old seal. The backplate is secured to the motor with four bolts and you can use a wrench to get these off. If the seal is stubborn, you may need a flathead screwdriver to gently pry it out.
Step 4: Install the New Motor to Backplate
Now you’re ready to start assembling the new components.
- Install the new seal in the backplate. Be careful to not touch the white ceramic portion with your hands to prevent getting oils on the seal. You can use the back end of a screwdriver to help push it into place.
- Carefully lift the new motor and slide it into place on the backplate making sure the shaft fits through the new seal.
- Hand-tighten the bolts to secure the new motor, then use your wrench to tighten them fully.
Step 5: Install the New Impeller and Diffuser
- With the new motor in place, screw the new impeller onto the motor shaft until it’s snug.
- Place the new o-ring onto the new diffuser, then slide the diffuser over the impeller. Make sure everything is seated correctly to prevent leaks. Attach the two bolts through the diffuser into the backplate.
Step 6: Reconnect Motor with the Pool Pump
- You will first want to put a new o-ring on the backplate. Put some lube on the o-ring.
- Next you will attach the backplate to the pool pump and secure with the eight bolts. While doing this you will need to make sure to keep the new o-ring in the guide on the backplate. This is a bit tricky so be patient until you get it properly lined up.
Step 7: Reconnect the Wiring
This is a critical step, especially when moving to a variable-speed pump.
- Feed your electrical wires through the new wiring elbow and into the motor’s terminal box.
- Refer to the wiring diagram on the motor itself and the photo you took earlier. Connect the wires accordingly, making sure to secure them tightly.
- Replace the terminal box cover and ensure the wiring elbow is properly sealed.
Troubleshooting and Final Checks
Once the new motor and components are installed and wired, it’s not quite time to flip the breaker just yet. A few final checks can save you from a big headache later on.
Final Checks Before Powering On
- Check All Connections: Double-check that all bolts and screws are tight and that the wiring connections are secure. A loose connection can cause a serious issue.
- Ensure a Proper Seal: Confirm that the diffuser and o-ring are correctly seated. A slight misalignment can cause a leak and prevent the pump from priming.
- Inspect for Debris: Look inside the pump housing and basket one last time to make sure there’s no debris that could obstruct water flow.
Priming the Pump and Testing
- Fill the Pump with Water: Before you turn the pump on, remove the lid of the pump basket and fill the housing with water using a hose. This is called “priming” and helps the pump start moving water effectively.
- Turn on the Power: Replace the pump basket lid and lock it in place. Then, go back to your breaker box and turn the power to the pump back on.
- Listen and Watch: Your new variable-speed motor should start up quietly. Watch the pump to make sure water is flowing through the system. Keep an eye out for any leaks around the fittings or pump housing. If you notice a drip, turn the power off immediately and check your connections.
Congratulations—you have successfully completed the replacement! Now you can set the new motor to a lower speed and enjoy the benefits of a quieter pump and a much lower energy bill.
Jandy Stealth Motor Replacement Conclusion
Congratulations! You’ve successfully completed a Jandy Stealth motor replacement. Not only have you brought your pool’s waterfall feature back to life, but you’ve also upgraded your system in a significant way. The new variable-speed motor will operate much more quietly and, more importantly, will drastically reduce your energy consumption and lower your electricity bill.
Tackling a project like this yourself can feel intimidating, but the satisfaction of doing the work and the money you save make it well worth the effort. Now that your pump is running smoothly again, you can get back to enjoying your pool and waterfall feature with the peace of mind that comes from a job well done.


Leave a Reply