
So you’ve decided to go off-grid. Building a DIY solar system for your RV is one of the most rewarding projects you can tackle. In a previous post, I showed you how I installed a custom strut channel system on my RV roof. This post is all about mounting RV solar panels onto that system and getting them wired up for power.
We’ll cover how to securely fasten the panels to the mounting system, crimp the connectors, and plug them into your RV’s existing solar port.
Safety Note: Be cautious when working on your RV roof and with electrical connections.
Tools and Materials
Before you get started, gather all the necessary tools and materials. Having everything on hand will make the installation process much smoother.
Tools:
- Wrench and Socket Set: To secure the mounting brackets to the panels and the strut channels.
- Wire Strippers: For preparing the solar wires.
- MC4 Crimping Tool: Essential for creating secure, waterproof connections with your MC4 connectors. Seeing as this was my first time installing solar and working with MC4 connectors, I needed to purchase a crimping tool.
- Multimeter: For testing your connections and confirming the voltage before plugging into the RV.
- Tape Measure: To properly position and space the panels.
Materials:
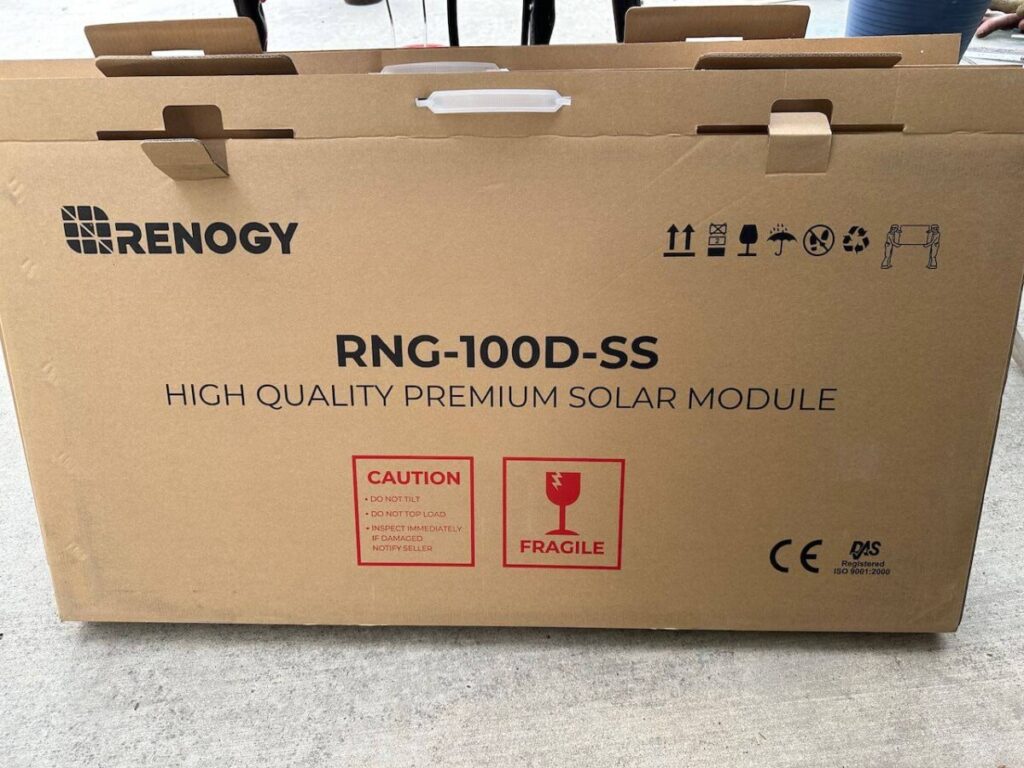
- Solar Panels: The star of the show! I went with the Renogy 100W RNG-100D-SS solar panels.
- Strut Channel Spring Nuts: Make sure these are compatible with your strut channel system. I found a set of stainless steel 1/4″ bolt size on eBay. Here is a similar set made of galvanized stainless steel at Amazon.com.
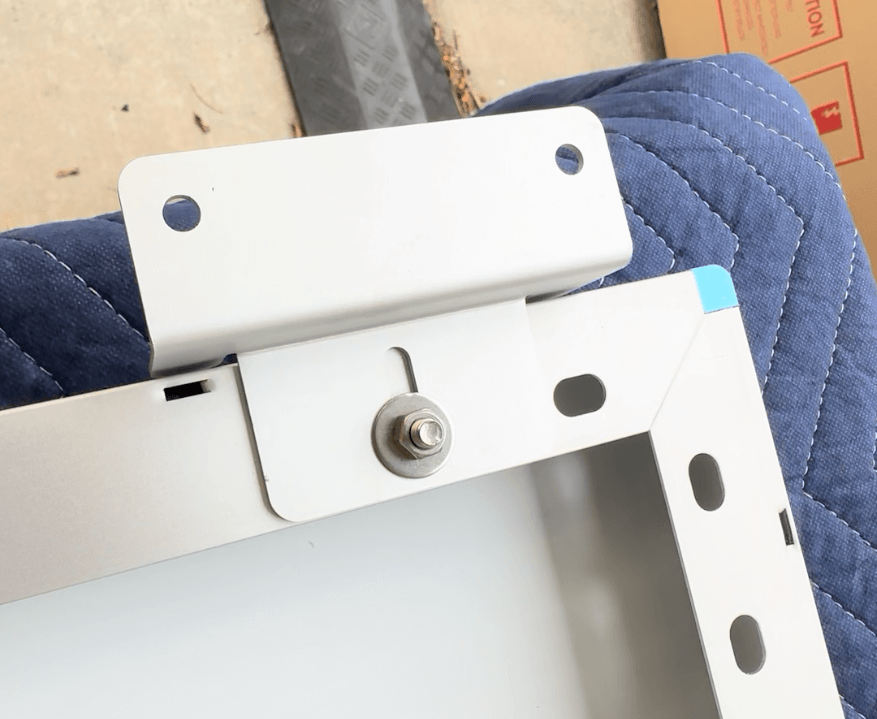
- Solar Panel Mounting Brackets: These are normally used for attaching the solar panel directly to the roof of the RV. I used them to attach the solar panel to the strut channel spring nuts. I went with the Renogy brackets that matched the solar panels I purchased.
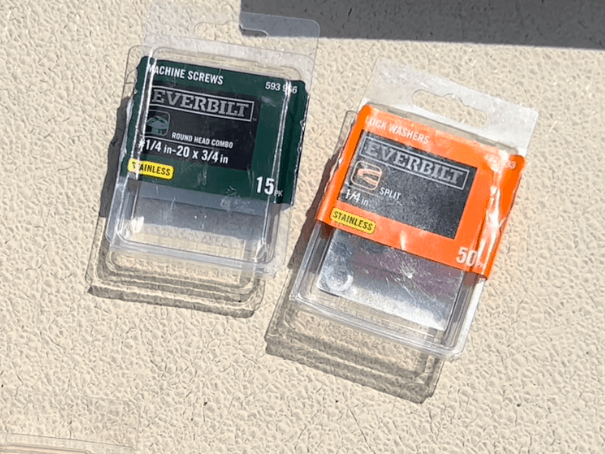
- 1/4″ Stainless Steel Bolts: Used to attach the mounting brackets to the strut channel spring nuts along with a split washer. I picked these up at my local hardware store. The length depends on your mounting bracket, but they typically do not need to be that long. The ones I used were 3/4″. Here is a comparable option on Amazon.com.
- 1/4″ Stainless Steel Split Washer: Used with 1/4″ bolts for securing solar panel mounting bracket to spring nut. I picked these up at my local hardware store. Here is a comparable option on Amazon.com.
- Solar Wire: You’ll need both a positive (red) and a negative (black) wire. Make sure the gauge is appropriate for the length of your run and the wattage of your panels. I purchased a set of black and red 50 feet 10AWG solar panel wires.
- MC4 Connectors: The connectors that snap into place on the panels and the ends of your solar wires. I purchased a set of 44 pieces from BougeRV, 10 AWG.
- MC4 Branch Connectors (optional): If you are wiring multiple panels together in parallel. I was wiring 3 sets of panels together in parallel, so I needed a solar Y branch that went from 1 to 3.
- Cable Ties: To neatly secure the wiring on the roof.
- Solar Fuses and Holders: I used these on each of sets of 2 panels on the positive (red) wire. In my setup each set of panels in series produced 5.21 A, I went with a 10A fuse. These connected with MC4 connectors so was super easy to install. I ended up purchasing a set of 2 as I originally was going to install just 4 panels but then decided to install six panels so needed 1 additional fuse.
The Installation Process: Step-by-Step Guide
Now that you have all your materials, it’s time to get the panels up on the roof. Follow these steps for a safe and secure installation.
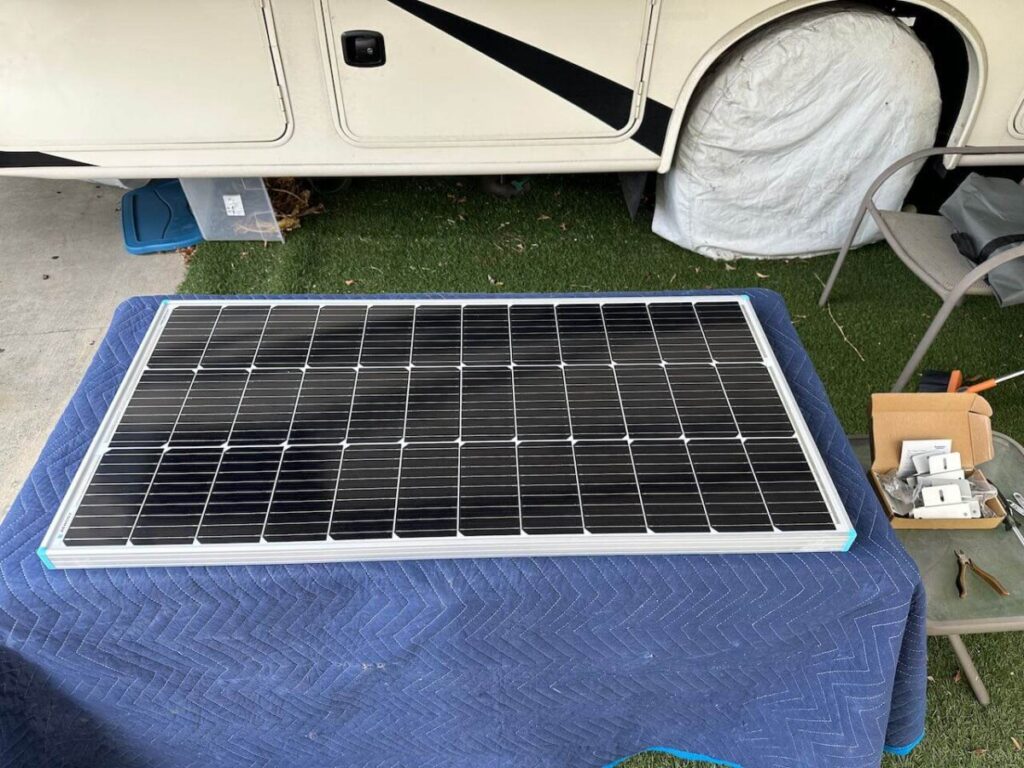
Step 1: Unbox and Inspect Your Panels
Carefully take your solar panels out of their boxes. Before you do anything else, check them for any damage that may have occurred during shipping. Look closely at the frames and the glass surface. This is also a good time to double-check the manufacturer’s instructions and specifications.
DIY Pro Tip: If you detect any damage, contact the seller immediately. One of my solar panels had a damaged corner. Luckily the damage looked more cosmetic and since it was going to be on the roof of my RV this didn’t really bother me. I was able to get an additional discount off my purchase price.
Step 2: Attach the Mounting Brackets
Lay your panels on a flat, protected surface (I used a moving blanket on a working table that I placed under the awning of my RV). Bolt the solar panel compatible mounting brackets to the frame of each solar panel. These brackets will be used to attach to the strut channel spring nuts. Ensure they are aligned correctly and tightened securely, but do not overtighten them.
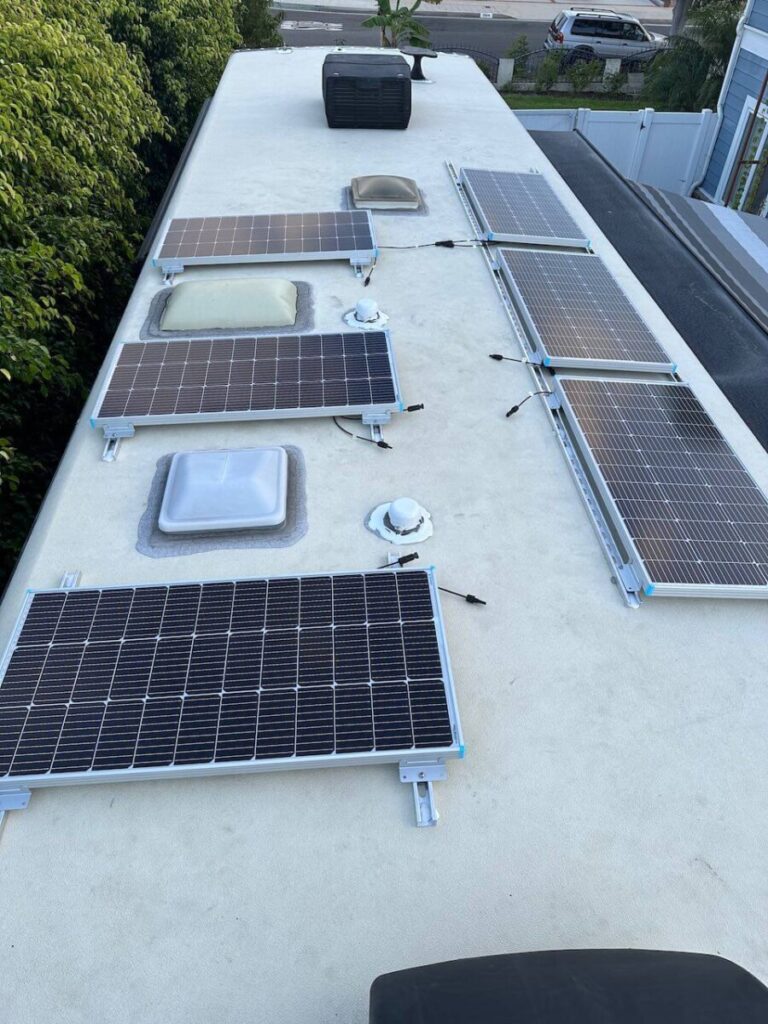
Step 3: Lift the Panels onto the Roof
This can be the trickiest part, especially if you’re working alone. Use a ladder and a friend or family member if possible to safely lift the panels onto the RV’s roof. Take your time and be careful not to damage the panels or the RV’s roof. This is where I utilized my son to help hand me the solar panels while I was on the roof of the RV.
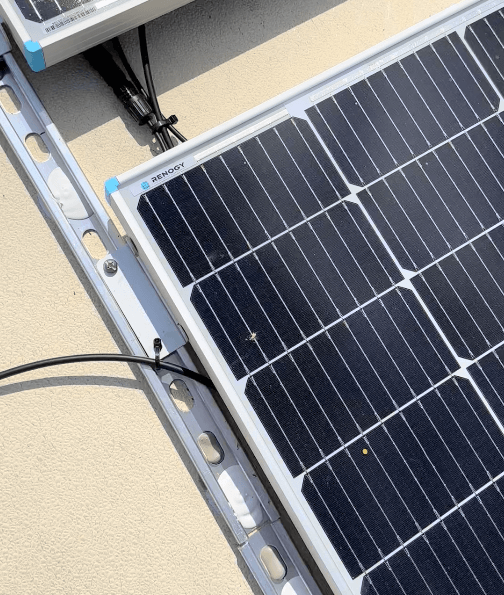
Step 4: Mount the Panels to the Strut Channels
With the panels on the roof, you can now slide the spring nuts into the strut channels in roughly the locations where the mounting brackets for the solar panels will line up. Position your solar panels on top of the strut channel. Once they are in the desired position, use a stainless steel 1/4″ bolt and split washer to tighten the brackets to the spring nuts to lock them in place. Make sure all panels are firmly secured to the channels.
Wiring the Solar Panels
With the panels securely mounted, it’s time to connect everything. The goal here is to get all the power from your solar panels flowing to a single point that connects to your RV.
Step 1: Understand Your Wiring
You have three main options for wiring your panels: series, parallel, or a combination of both.
- Series wiring increases the voltage of your system. This is useful for longer wire runs, but a single shaded panel can significantly reduce the output of the entire array.
- Parallel wiring increases the amperage, which is what I chose to do. This method is more resilient to shading—if one panel gets shaded, the others will continue to produce power.
- Combination wiring merges both series and parallel wiring to best fit your needs.
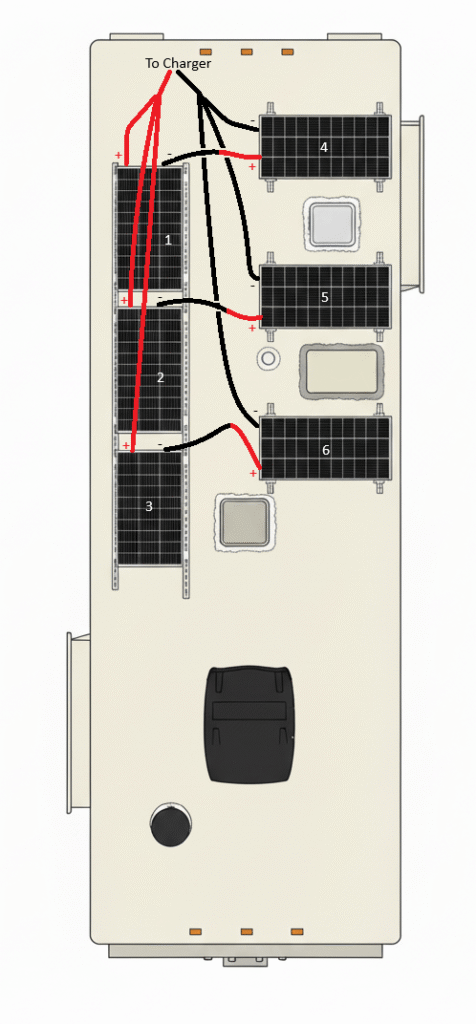
For my six-panel setup, I will be wiring them in a combination of series and parallel using MC4 branch connectors. This optimizes the voltage and current for my setup. Check out my detailed solar panel planning guide that I used for the setup on my RV.
Step 2: Prepare the Wires
Take your solar wire and cut it to the appropriate lengths needed to connect your panels and run the wires to your RV’s solar port. Use wire strippers to carefully remove about 3/8-inch of insulation from the ends of the wires.
Step 3: Crimp the MC4 Connectors
This is a critical step for a safe and durable connection. Place the stripped end of a wire into the proper terminal of an MC4 connector. Use a crimping tool to firmly attach the terminal to the wire. You should hear a distinct click. Once crimped, pull on the wire to ensure it is secure. Repeat for all your wires.
Step 4: Connect the Panels
First, connect any panels to each other using the MC4 branch connectors. These connectors snap together and are designed to split or combine the positive and negative wires from multiple panels. Once connected, your panels will have a single positive and a single negative wire running out from the last connector.
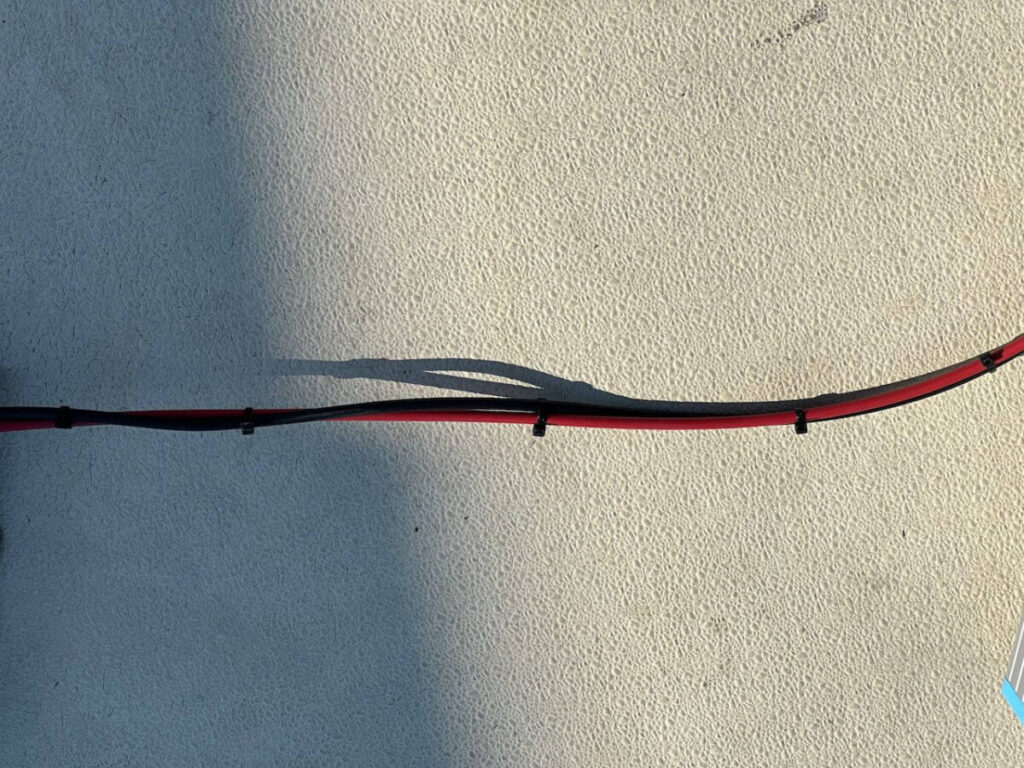
Step 5: Run Wires to the Connection Point
Now, take the positive and negative output wires and route them cleanly along the roof toward your RV’s solar port. Leave a little slack, but don’t let the wires hang loose. Use UV-resistant cable ties to secure the wires and prevent them from flapping in the wind. I was able to secure them to the strut channel and solar panel brackets with zip ties.
Final Checks and Testing
You’re almost there! Before you celebrate and head off into the sunset, you need to perform some final checks to ensure your solar setup is safe and working correctly.
Step 1: Visual Inspection
Do a thorough walk-around of your RV’s roof. Double-check every single connection and fastener. Make sure your panels are firmly mounted to the strut channels and that all the wiring is neatly secured with cable ties. A little extra time spent now can prevent major issues down the road.
Step 2: Electrical Test
This is the most important step before you connect anything to your RV. Use your multimeter to test the voltage coming from your solar array. Set your multimeter to measure DC voltage and place the probes on the final positive and negative MC4 connectors coming from your wiring.
The reading should be in the correct voltage range (typically between 18V-22V for a 12V system, but check your panel’s specs). In my case I was wiring two panels in series and would expect individually a reading close to 22V-24V and for both in series in the range 44v – 48V. If you get a reading of 0 or a very low number, recheck your connections and wiring.
See my detailed guide on how to test a solar panel with a multimeter.
Step 3: Connect to RV
Once you’ve confirmed the correct voltage, it’s time to plug in! Connect the final MC4 connectors to your RV’s solar port. Your charge controller should recognize the incoming power and begin to charge your batteries. You can now use your RV’s control panel or a battery monitor to see the solar power flowing in.
Mounting RV Solar Panels Conclusion
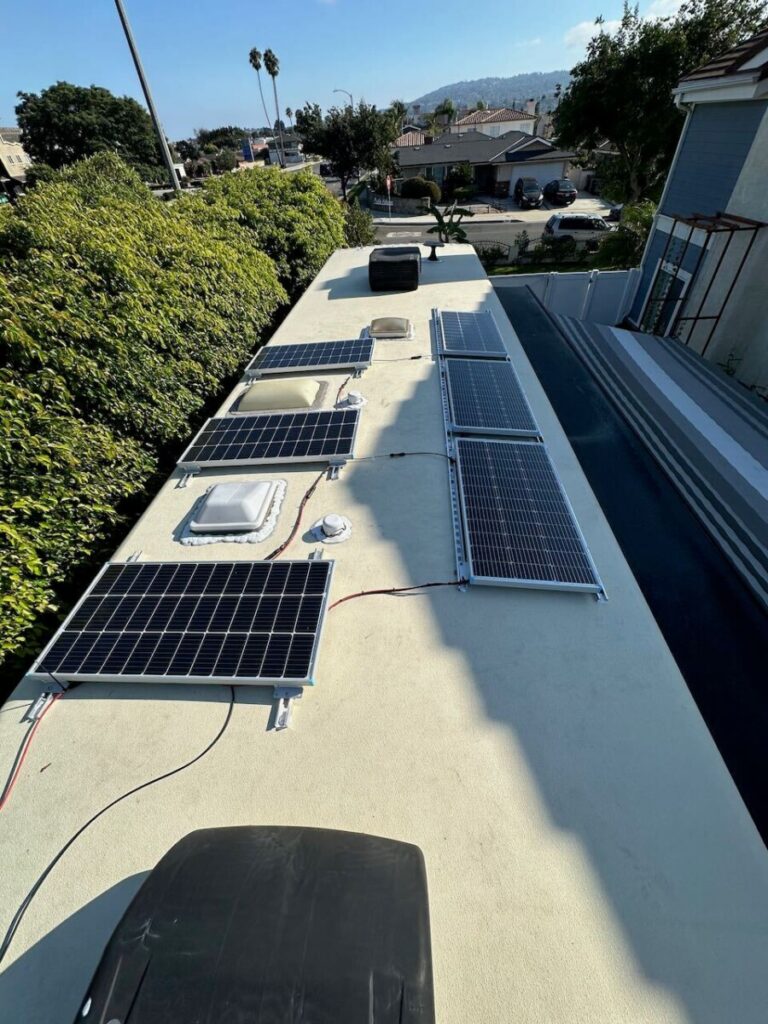
Congratulations! You’ve successfully completed the most critical parts of your RV solar installation. You’ve gone from a simple strut channel system to a fully mounted and wired solar array. This accomplishment means you are one step closer to true energy independence on the road.
Now that your panels are mounted and wired, your RV is ready to capture the sun’s energy wherever you go.
I performed this installation just before a long road trip from Los Angeles, CA to Austin, TX. This is over 2,500 miles round trip and the solar panels held up without any issue. We camped without electricity for 3 nights in Albuquerque, NM and then 4 nights in Austin, TX as well as a couple nights at rest areas on the way home and the solar panels held up great.
If you have any questions about mounting RV solar panels or wiring them up, feel free to drop a comment below. Happy travels!


Leave a Reply