

Welcome to our comprehensive DIY guide on replacing rotted kitchen sink cabinet floor. If you’ve noticed that your kitchen sink cabinet floor is showing signs of decay and damage, you’re in the right place. Over time, water leaks and moisture can take a toll, compromising the integrity of this crucial area. In this step-by-step tutorial, we’ll walk you through the process of effectively addressing this issue and revitalizing your kitchen space. By the end, you’ll have the knowledge and confidence to tackle this project like a pro, ensuring a solid and long-lasting solution for your kitchen sink cabinet.
Materials and tools you’ll need to replace rotted sink cabinet floor
Before you embark on the journey of replacing rotted kitchen sink cabinet floor, make sure you have all the necessary materials and tools at your disposal. Being well-prepared will streamline the process and help you achieve the best results. Here’s a list of what you’ll need:
Materials:
- Replacement Plywood: Choose a high-quality plywood that is sturdy and resistant to moisture.
- Framing Lumber: 2×4 or similar type of boards to frame in floor of cabinet to provide support if needed.
- Screws: Get corrosion-resistant screws that are appropriate for woodworking.
- Paint or Sealant: Opt for a water-resistant paint or sealant to protect the new plywood.
- Sandpaper: You’ll need different grits for sanding edges and surfaces.
- Labeling Supplies: Use markers or masking tape for labeling plumbing connections.
- Plastic Sheeting: Cover the surrounding area to catch debris and dust.
- Cleaning Supplies: Keep rags, a broom, and a dustpan handy to maintain cleanliness.
- Vinyl Flooring: This is optional but will add a nice touch. Peel and stick vinyl tiles work great.
Here is a similar product to the vinyl flooring that I used that added a really nice touch to the finished project:

Tools:
- Safety Gear: Gloves and safety goggles are a must to protect yourself during the project.
- Pry Bar and Hammer: These will help with the removal of the old, rotted floor.
- Measuring Tape: Accurate measurements ensure the replacement plywood fits perfectly.
- Circular Saw or Jigsaw: Essential for cutting the plywood to the required size.
- Screwdriver or Drill: For securing the new plywood and screws.
- Paintbrush or Roller: If you’re painting the new plywood for added protection.
- Sanding Blocks: Different grits for smoothing the edges and surfaces.
- Adjustable Wrench and Pliers: To disconnect and reconnect plumbing connections.
Gathering these materials and tools in advance will set you up for a smooth and successful project execution.
Assessment and preparation
Before diving into the process of replacing the rotted kitchen sink cabinet floor, it’s essential to assess the extent of the damage and make thorough preparations. This phase ensures you have a clear understanding of what you’re dealing with and helps create a safe and organized workspace. Follow these steps to get started:
1. Assess the Damage: Begin by inspecting the rotted floor and the surrounding area. Look for signs of moisture, decay, and any potential structural issues that might have arisen from the damage. Note the dimensions of the rotted area and determine if any adjacent components have been affected. This assessment will guide your approach to the project.
2. Turn Off Water Supply: Before you begin any work, it’s crucial to turn off the water supply lines that connect to the sink. This step prevents accidental leaks or water damage during the project. If there’s a shut-off valve under the sink, turn it off. If not, consider turning off the main water supply temporarily.
3. Disconnect Plumbing: Carefully disconnect the plumbing connections to the sink. Label or photograph the connections to ensure reinstallation is hassle-free. Place a bucket or container underneath to catch any residual water in the pipes. This step prevents water spills and keeps your work area tidy.
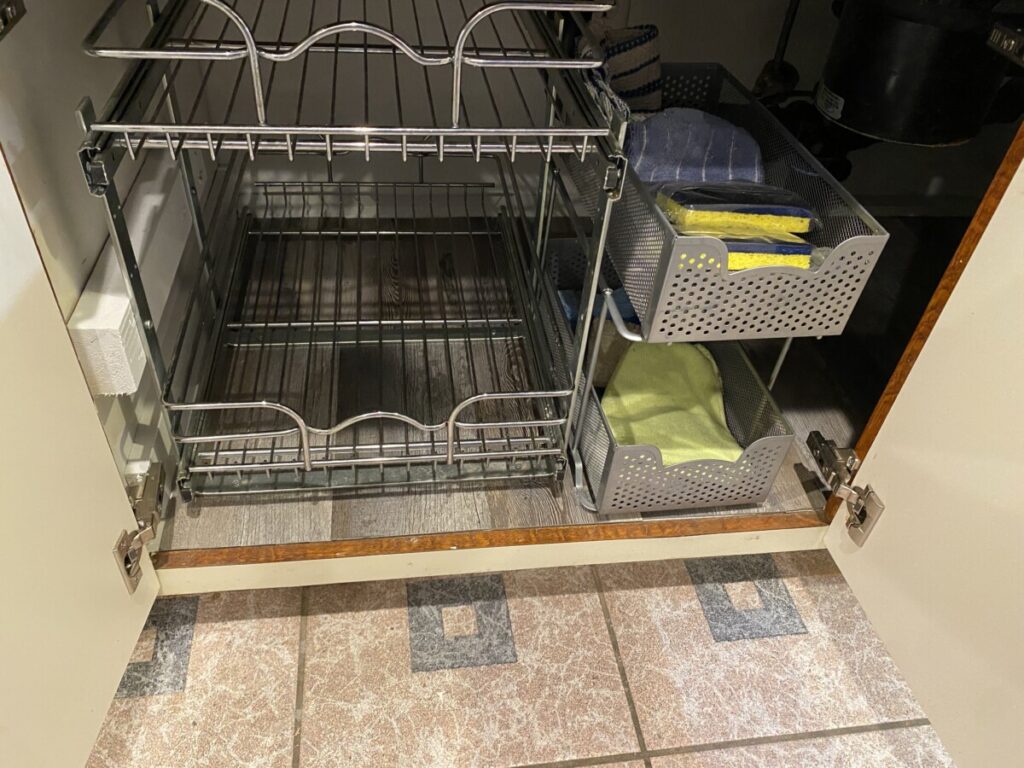
4. Clear Out the Cabinet: Remove any items stored in the sink cabinet to create space for your work. This includes cleaning supplies, pots, pans, and any other belongings. Place them in a safe location away from the workspace.
5. Protect the Area: Cover the surrounding area, including the floor and nearby surfaces, with plastic sheeting. This protective layer will catch debris, dust, and any potential spills, making the cleanup process much easier once the project is complete.
By carefully assessing the damage and preparing the workspace, you’re setting the stage for a smooth and successful kitchen sink cabinet floor replacement project. Taking these initial steps will help you proceed with confidence and achieve excellent results.
Step-by-step guide
- Remove Sink and Plumbing
- If the sink and or plumbing will interfere with removing floor or installing new floor, it is recommended that they be removed if possible.
- Make sure you photograph existing setup and connections to make it easier to put back together.
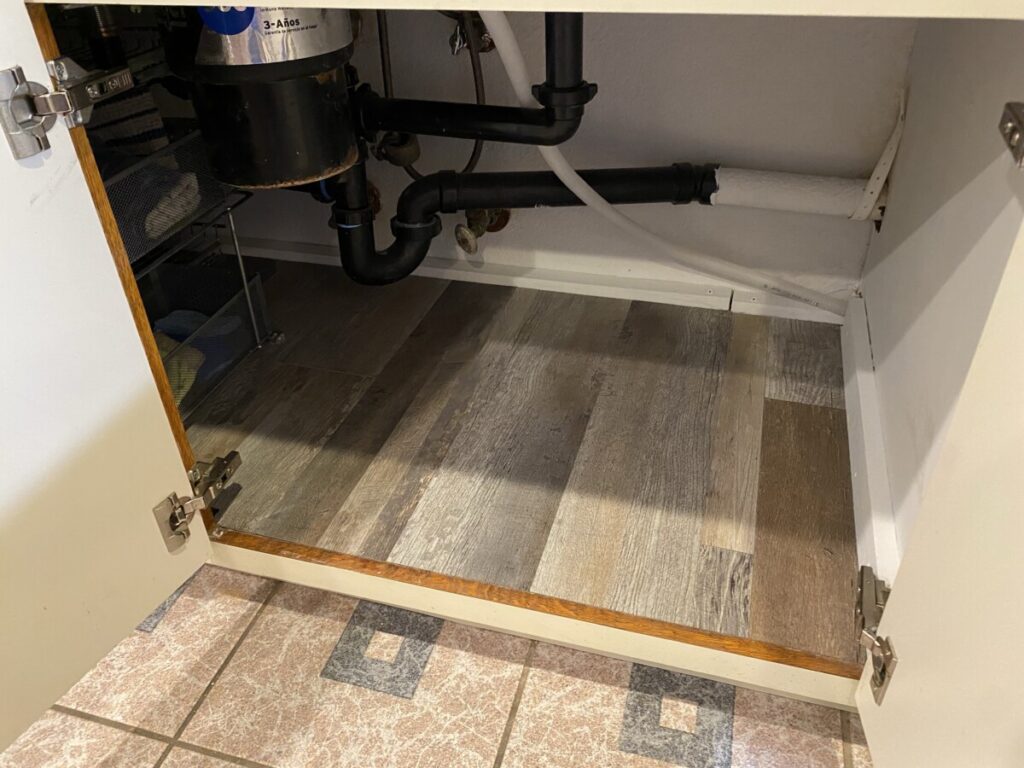
- Demolition of Rotted Floor
- Carefully remove the old floor using a pry bar and hammer.
- Make sure you carefully remove debris and nails.
- You may need to use plyers to remove old nails.
- Be careful to not damage the frame of your existing cabinet and just remove the old floor.
- Inspect and Treat Mold/Structural Issues
- Examine the surrounding areas closely to identify any signs of mold growth or potential structural problems that could have arisen as a result of the deteriorated kitchen sink cabinet floor.
- If mold is present, clean the area thoroughly, and if structural problems are identified, reinforce or repair them to establish a stable base for the new floor.
- If there are any holes or gaps under the old floor, it is recommended to block these off so small little critters can’t crawl underneath your cabinets.
- Measure and Cut Replacement Plywood
- To accurately measure the dimensions of the cabinet floor, use a measuring tape to record the length and width of the exposed area, ensuring precision for a seamless fit of the replacement plywood.
- Use a circular saw or jig saw to cut the plywood to the exact dimensions.
- Depending on your setup, you may need to cut the plywood into two pieces to fit through the door openings.
- Install the New Plywood
- Once the plywood is in place, use screws to secure the plywood.
- Finishing Touches
- Sand any rough edges
- For optimal protection against moisture, use a water-resistant or waterproof paint, such as an exterior-grade latex or enamel paint, to coat the replacement plywood in your kitchen sink cabinet.
- An added touch would be to add vinyl flooring on top of the plywood. Peel and stick tiles work out great!
- If there are any gaps between cabinet walls and new floor you can add some molding or caulk.
- Reinstall Sink and Plumbing
- Now it is time to put back the sink and any plumbing if they were removed.
- The final step is to check that all plumbing works.
Tips for maintenance and prevention
After successfully replacing the rotted kitchen sink cabinet floor, you’ll want to ensure its longevity and prevent future issues. Implementing regular maintenance and preventive measures can save you time, effort, and potential repairs down the line. Here are some valuable tips to keep your kitchen cabinet floor in top condition:
1. Regular Inspections: Schedule periodic inspections of your cabinet floor for signs of water damage, mold, or decay. Catching issues early can help you address them before they escalate.
2. Address Leaks Promptly: If you notice any leaks under the sink, take immediate action to fix them. Even minor leaks can lead to significant damage over time. Repairing leaks promptly can prevent water from reaching the cabinet floor.
3. Use Protective Mats: Consider placing protective mats or trays under the sink area. These can catch any spills or leaks, preventing water from coming into direct contact with the cabinet floor.
4. Maintain Proper Ventilation: Ensure that your kitchen is well-ventilated to prevent excess moisture buildup. Use exhaust fans while cooking or washing dishes to help dissipate humidity.
5. Avoid Standing Water: Wipe up any standing water around the sink area as soon as possible. Prolonged exposure to water can lead to damage over time.
6. Apply Water-Resistant Coatings: Consider applying water-resistant coatings or sealants to the cabinet floor. This extra layer of protection can help prevent moisture infiltration.
7. Check Seals and Caulking: Regularly inspect and replace worn-out seals and caulking around the sink and countertop. Proper seals prevent water from seeping into gaps and causing damage.
8. Use Cabinet Liners: Place cabinet liners or mats inside the cabinet to provide an additional barrier against spills and moisture.
9. Monitor Plumbing Connections: Periodically check the plumbing connections under the sink for any signs of leaks. Tighten connections if needed to prevent water from escaping.
10. Stay Vigilant in All Seasons: Remember that moisture-related issues can occur in any season. Be vigilant year-round to maintain the health of your kitchen sink cabinet floor.
By adopting these maintenance and prevention tips, you’re taking proactive steps to safeguard your investment and preserve the functionality and aesthetics of your kitchen space. A little ongoing care can go a long way in ensuring the longevity of your newly replaced cabinet floor.
Conclusion
In conclusion, tackling the task of replacing a rotted kitchen sink cabinet floor might seem daunting, but armed with the right knowledge and guidance, it’s a manageable DIY project that can bring new life to your kitchen. By following our step-by-step guide, you’ve gained the skills to address the issue promptly, prevent further damage, and ensure the functionality and aesthetic appeal of your kitchen space for years to come.
Remember, a solid and well-maintained cabinet floor sets the foundation for a healthy kitchen environment, free from the risks of mold, decay, and structural compromise. As you take pride in your accomplishment, you’re not just enhancing your living space but also honing valuable DIY skills that can be applied to various home improvement endeavors.
We hope this guide has empowered you to take charge of your kitchen’s well-being. If you have any questions or would like to share your experience, we’d love to hear from you in the comments section. Here’s to a kitchen that’s as resilient as it is beautiful!
Disclaimer: Your situation may require adaptations, as this advice might not cover all scenarios. Prioritize safety and consider seeking professional help as needed. We hold no responsibility for outcomes based on this information.


Leave a Reply